Headphone Stand
I needed (or maybe just wanted) a stand for my desk headphones. My only requirements were that the headphones be arm’s-length accessible and off my desk. I didn’t find any commercial products very inspiring so I thought it was worth experimenting with the leftover walnut stock I had from my earlier storage compartment build.
Here’s where this project landed:
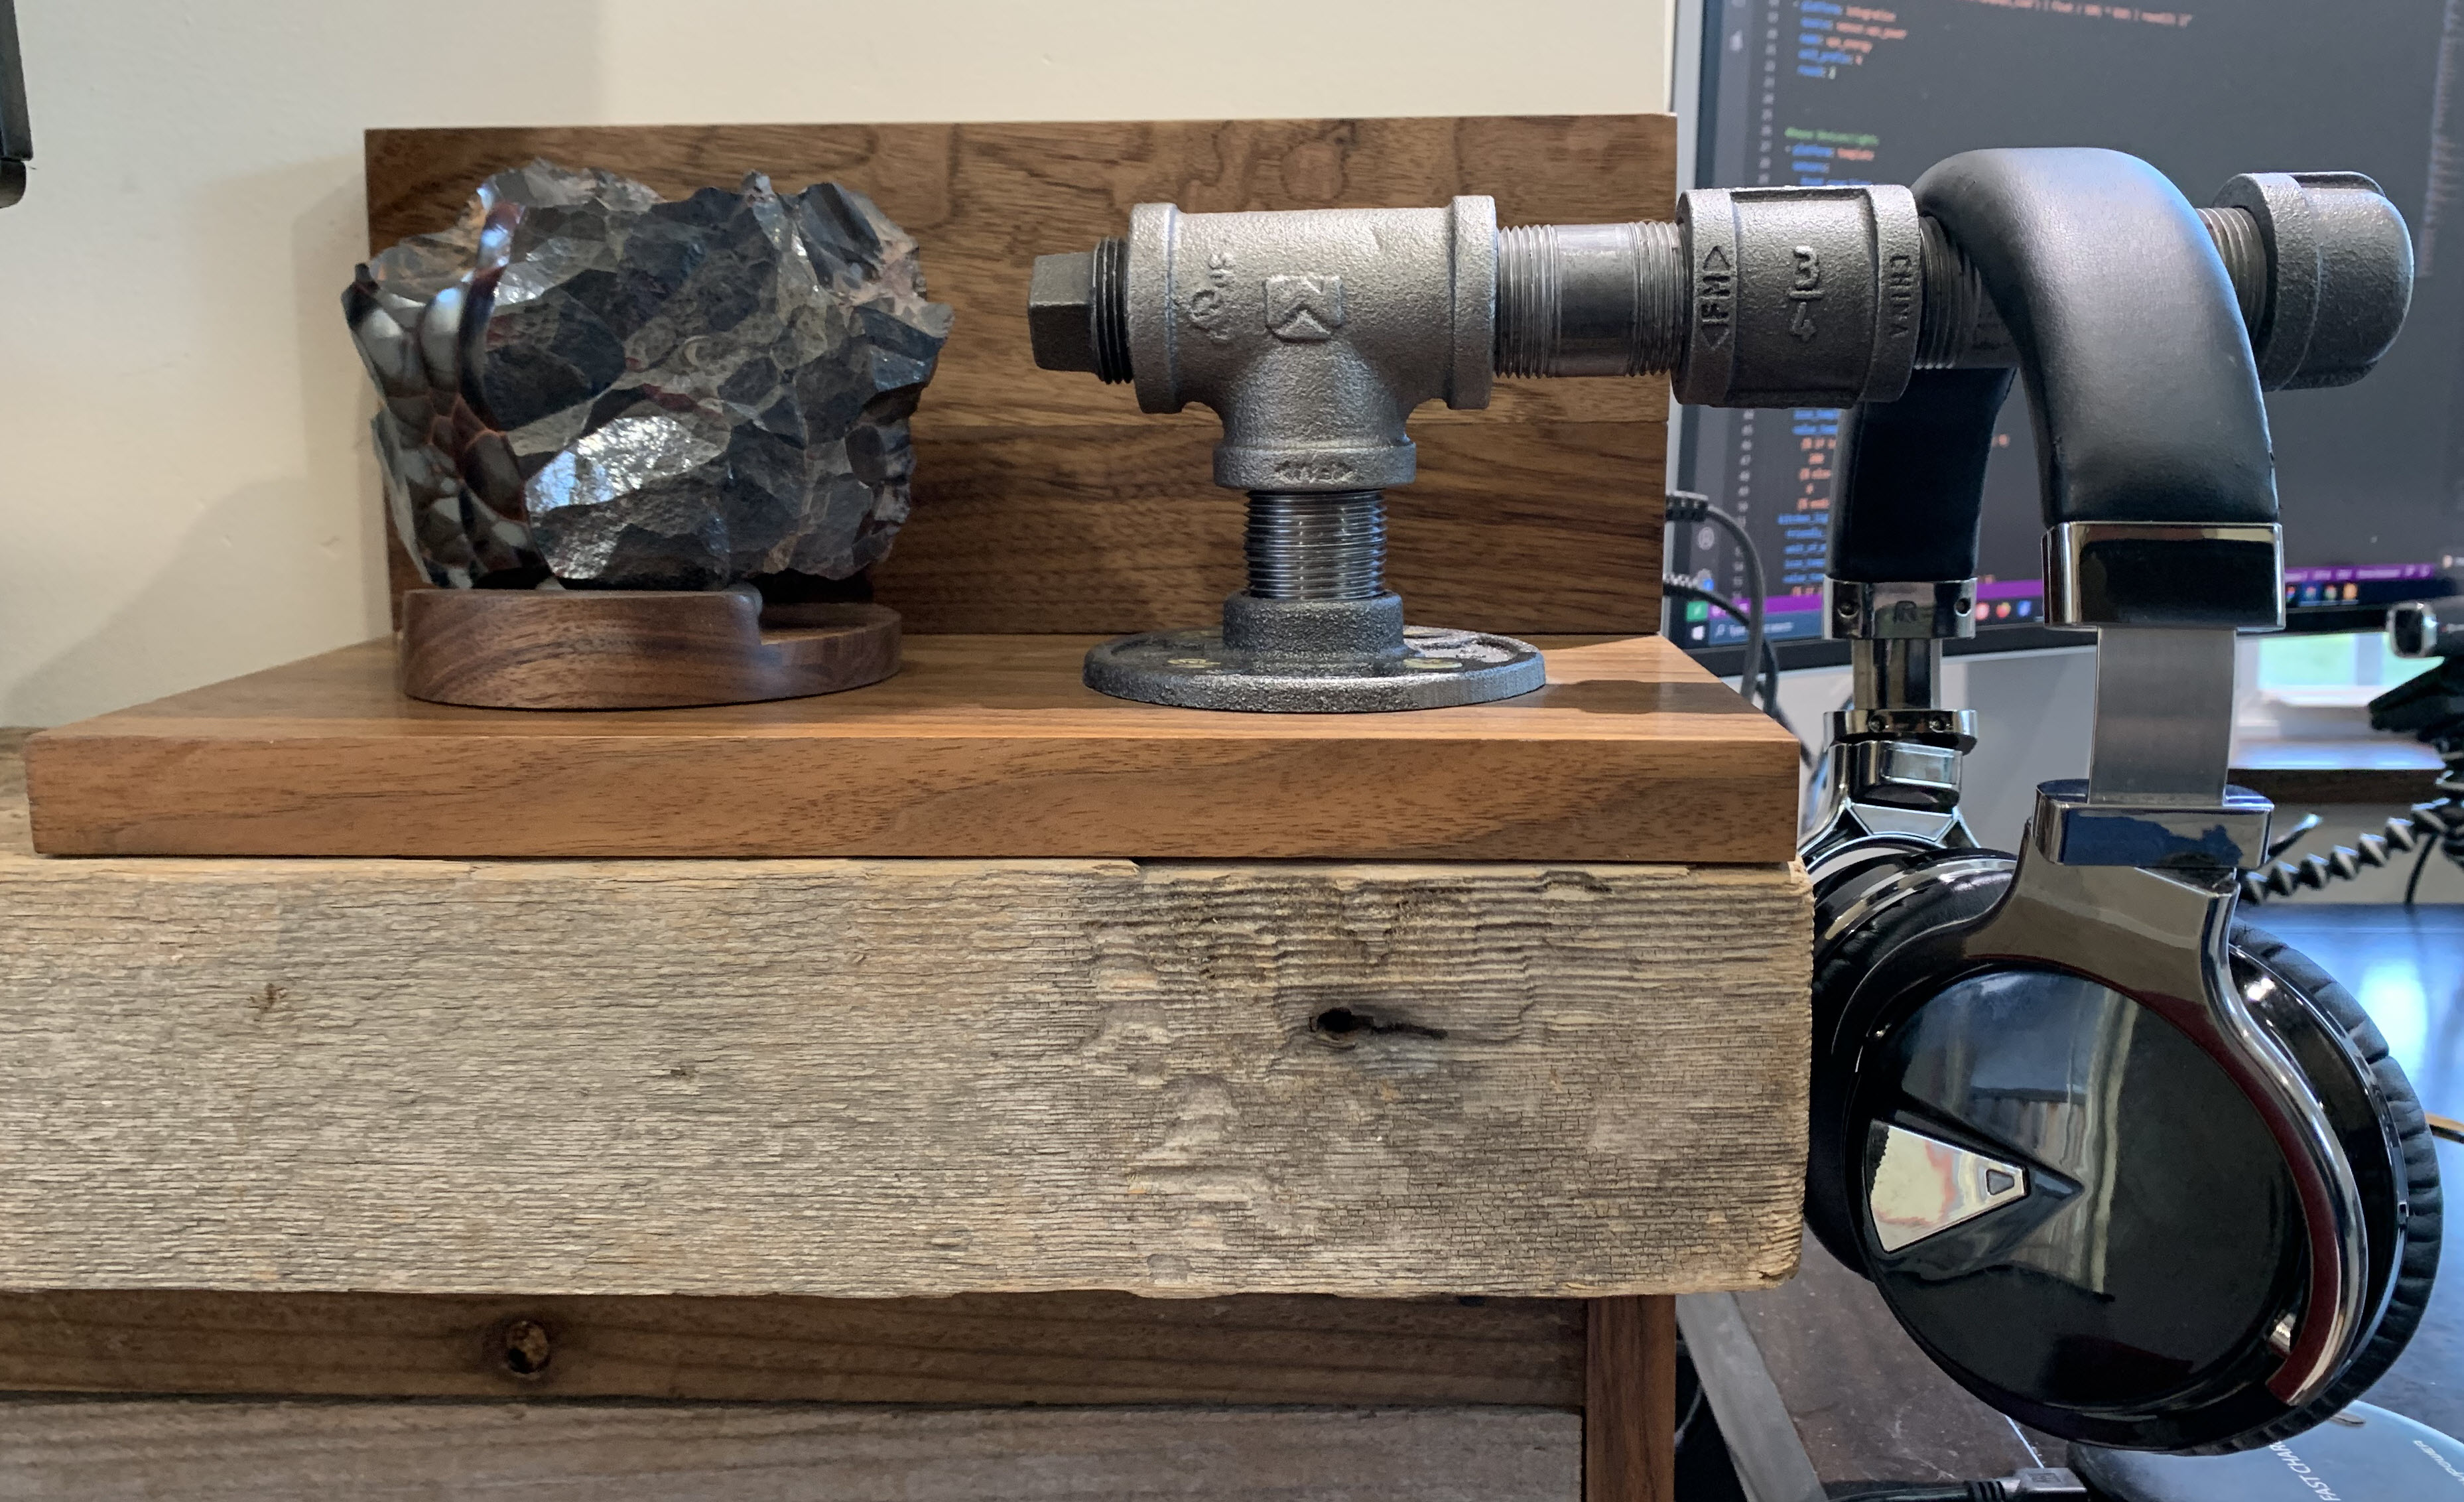
I think I like it? It’s definitely more purpose-built than anything I could have bought. It was fun to come up with and easy to build, so I’ll call that a win. The metallic-looking blob on the left side is Hematite, an iron ore. It weighs a good couple of pounds and acts as a counterbalance to the stand, stabilizing the hanger arm when the headphones are lifted or deposited. (Galena, a lead ore, is even heavier… but that didn’t really seem like a good idea to use.)
The Components
In hindsight, this was a simple build. The time investment amounted to a few hours each day over a weekend. The stand itself has four main components: the base, the back plate, metal piping to support the headphones, and a ‘display element’ that also doubles as a counterweight.
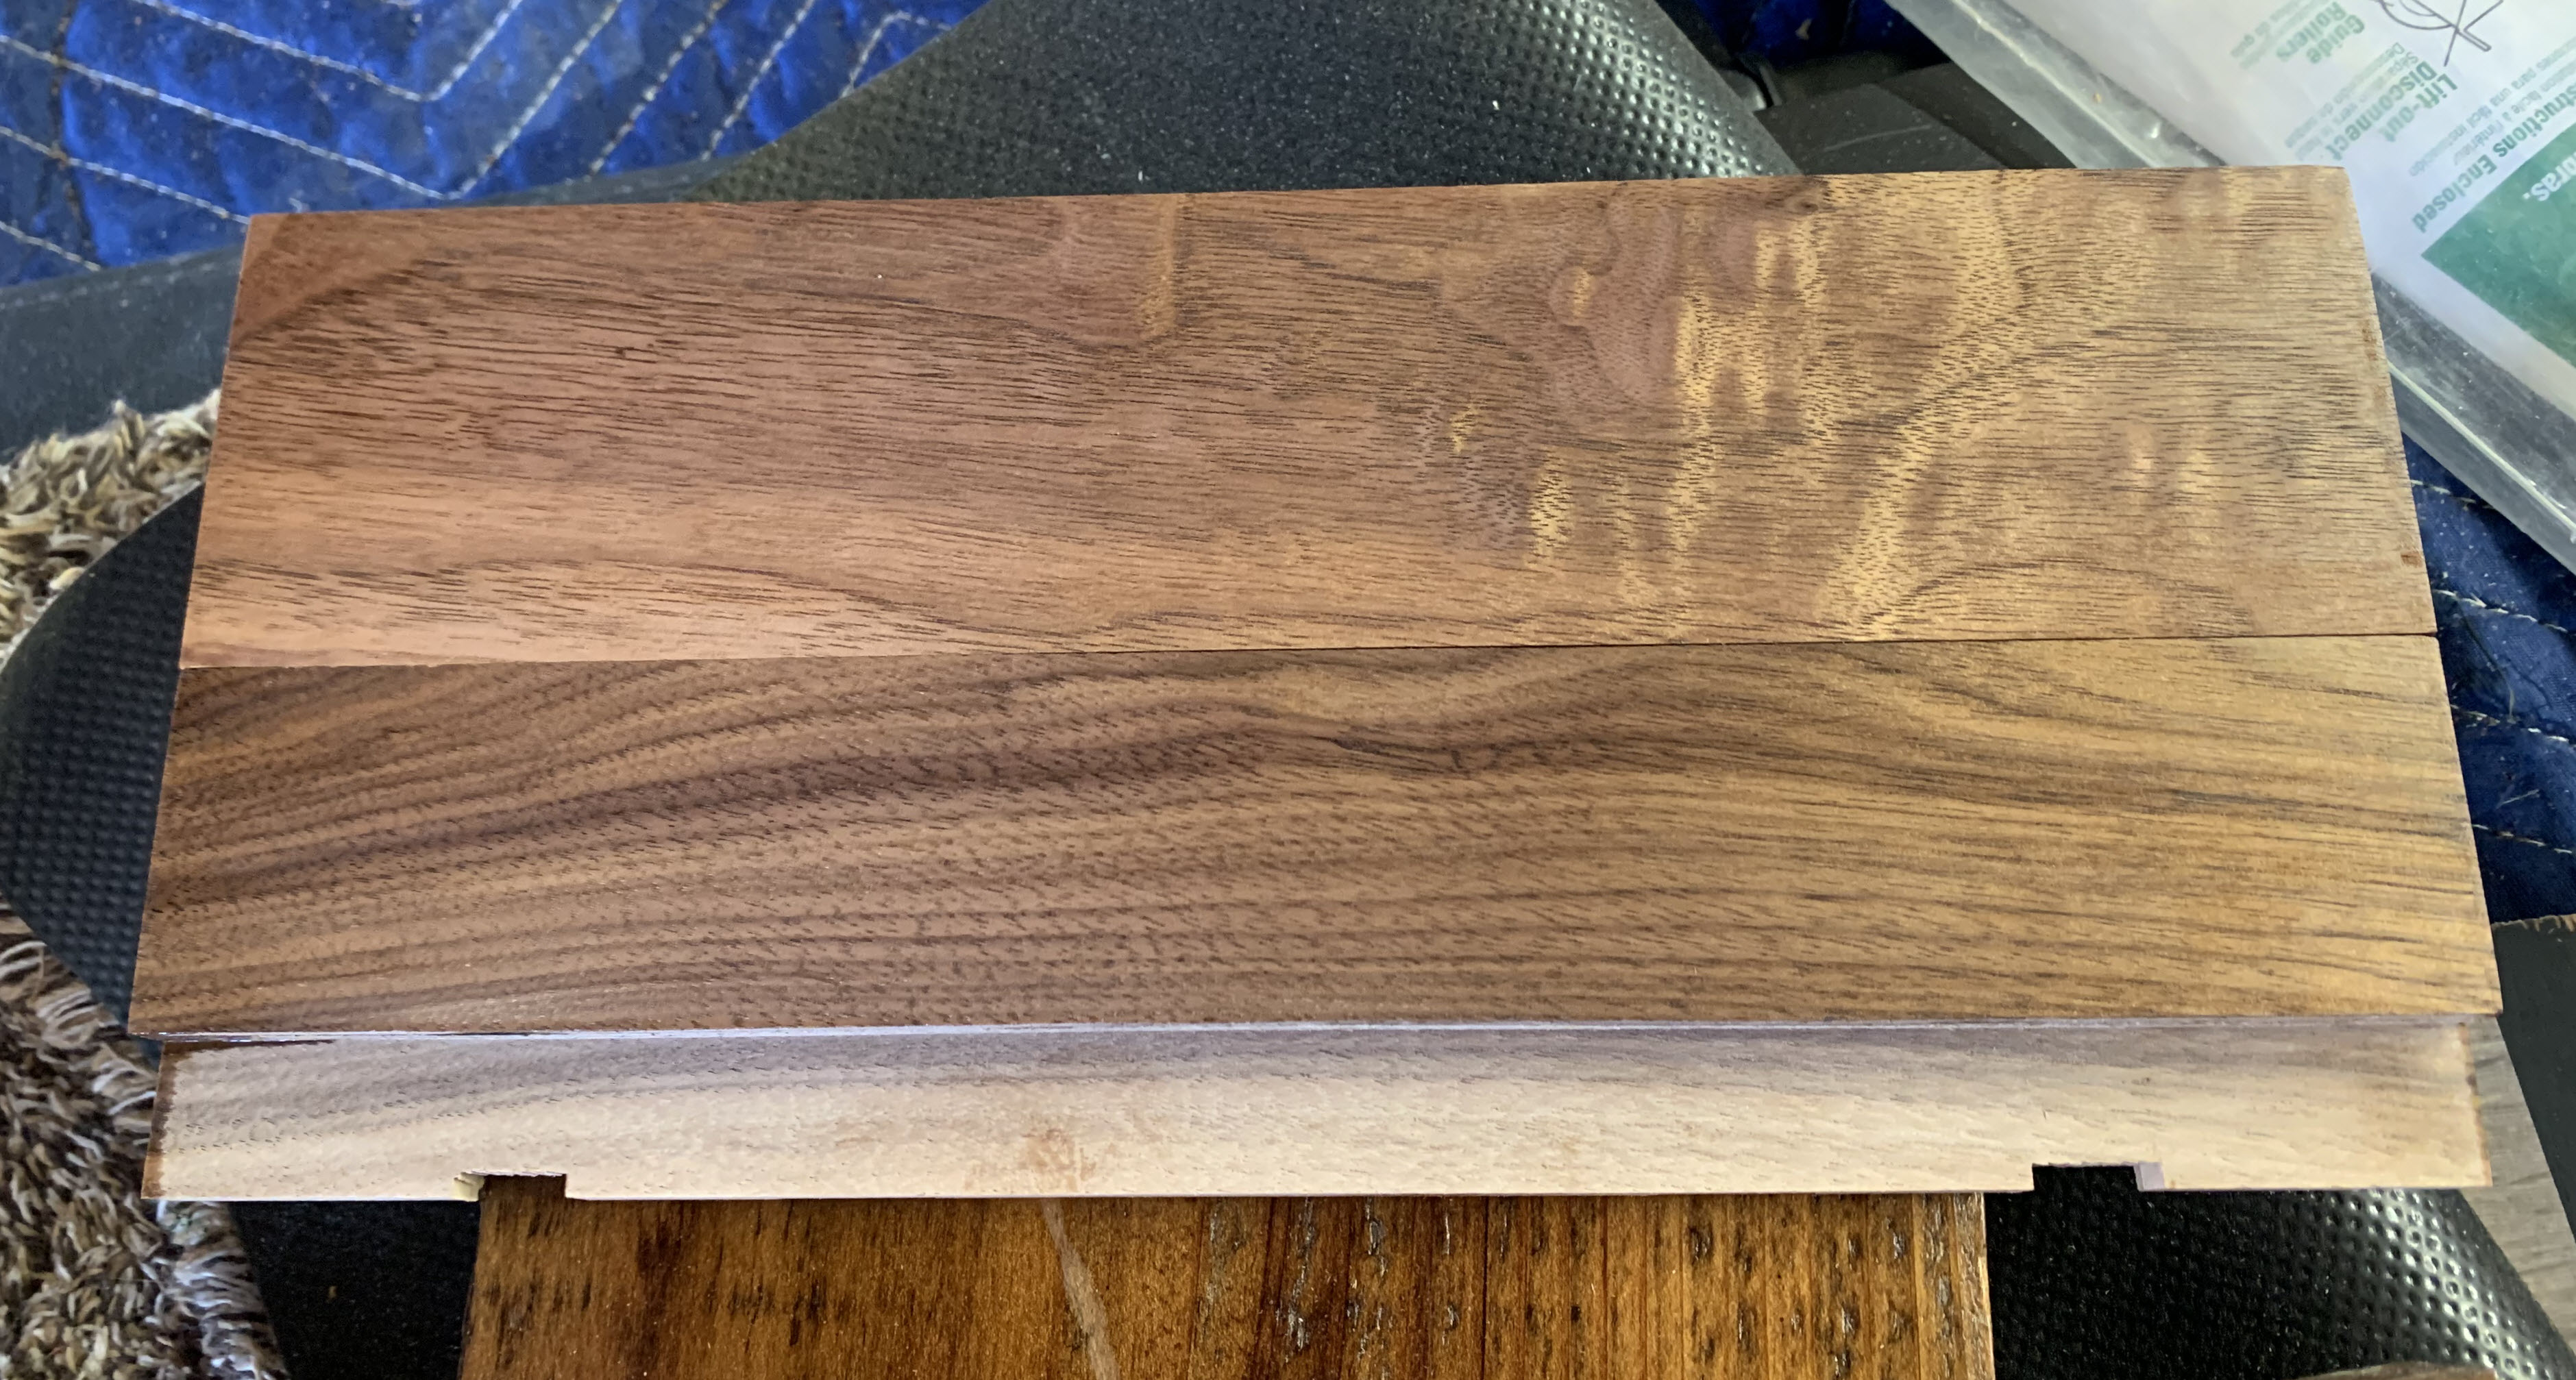
The base was the remainder piece of the 1x8 board cut for the door my storage comparment project. Other than sanding and staining I didn’t do much to that piece. The backplate wasn’t really necessary, mostly, I was more curious to see how well I could join and finish the 1x3 pieces below.
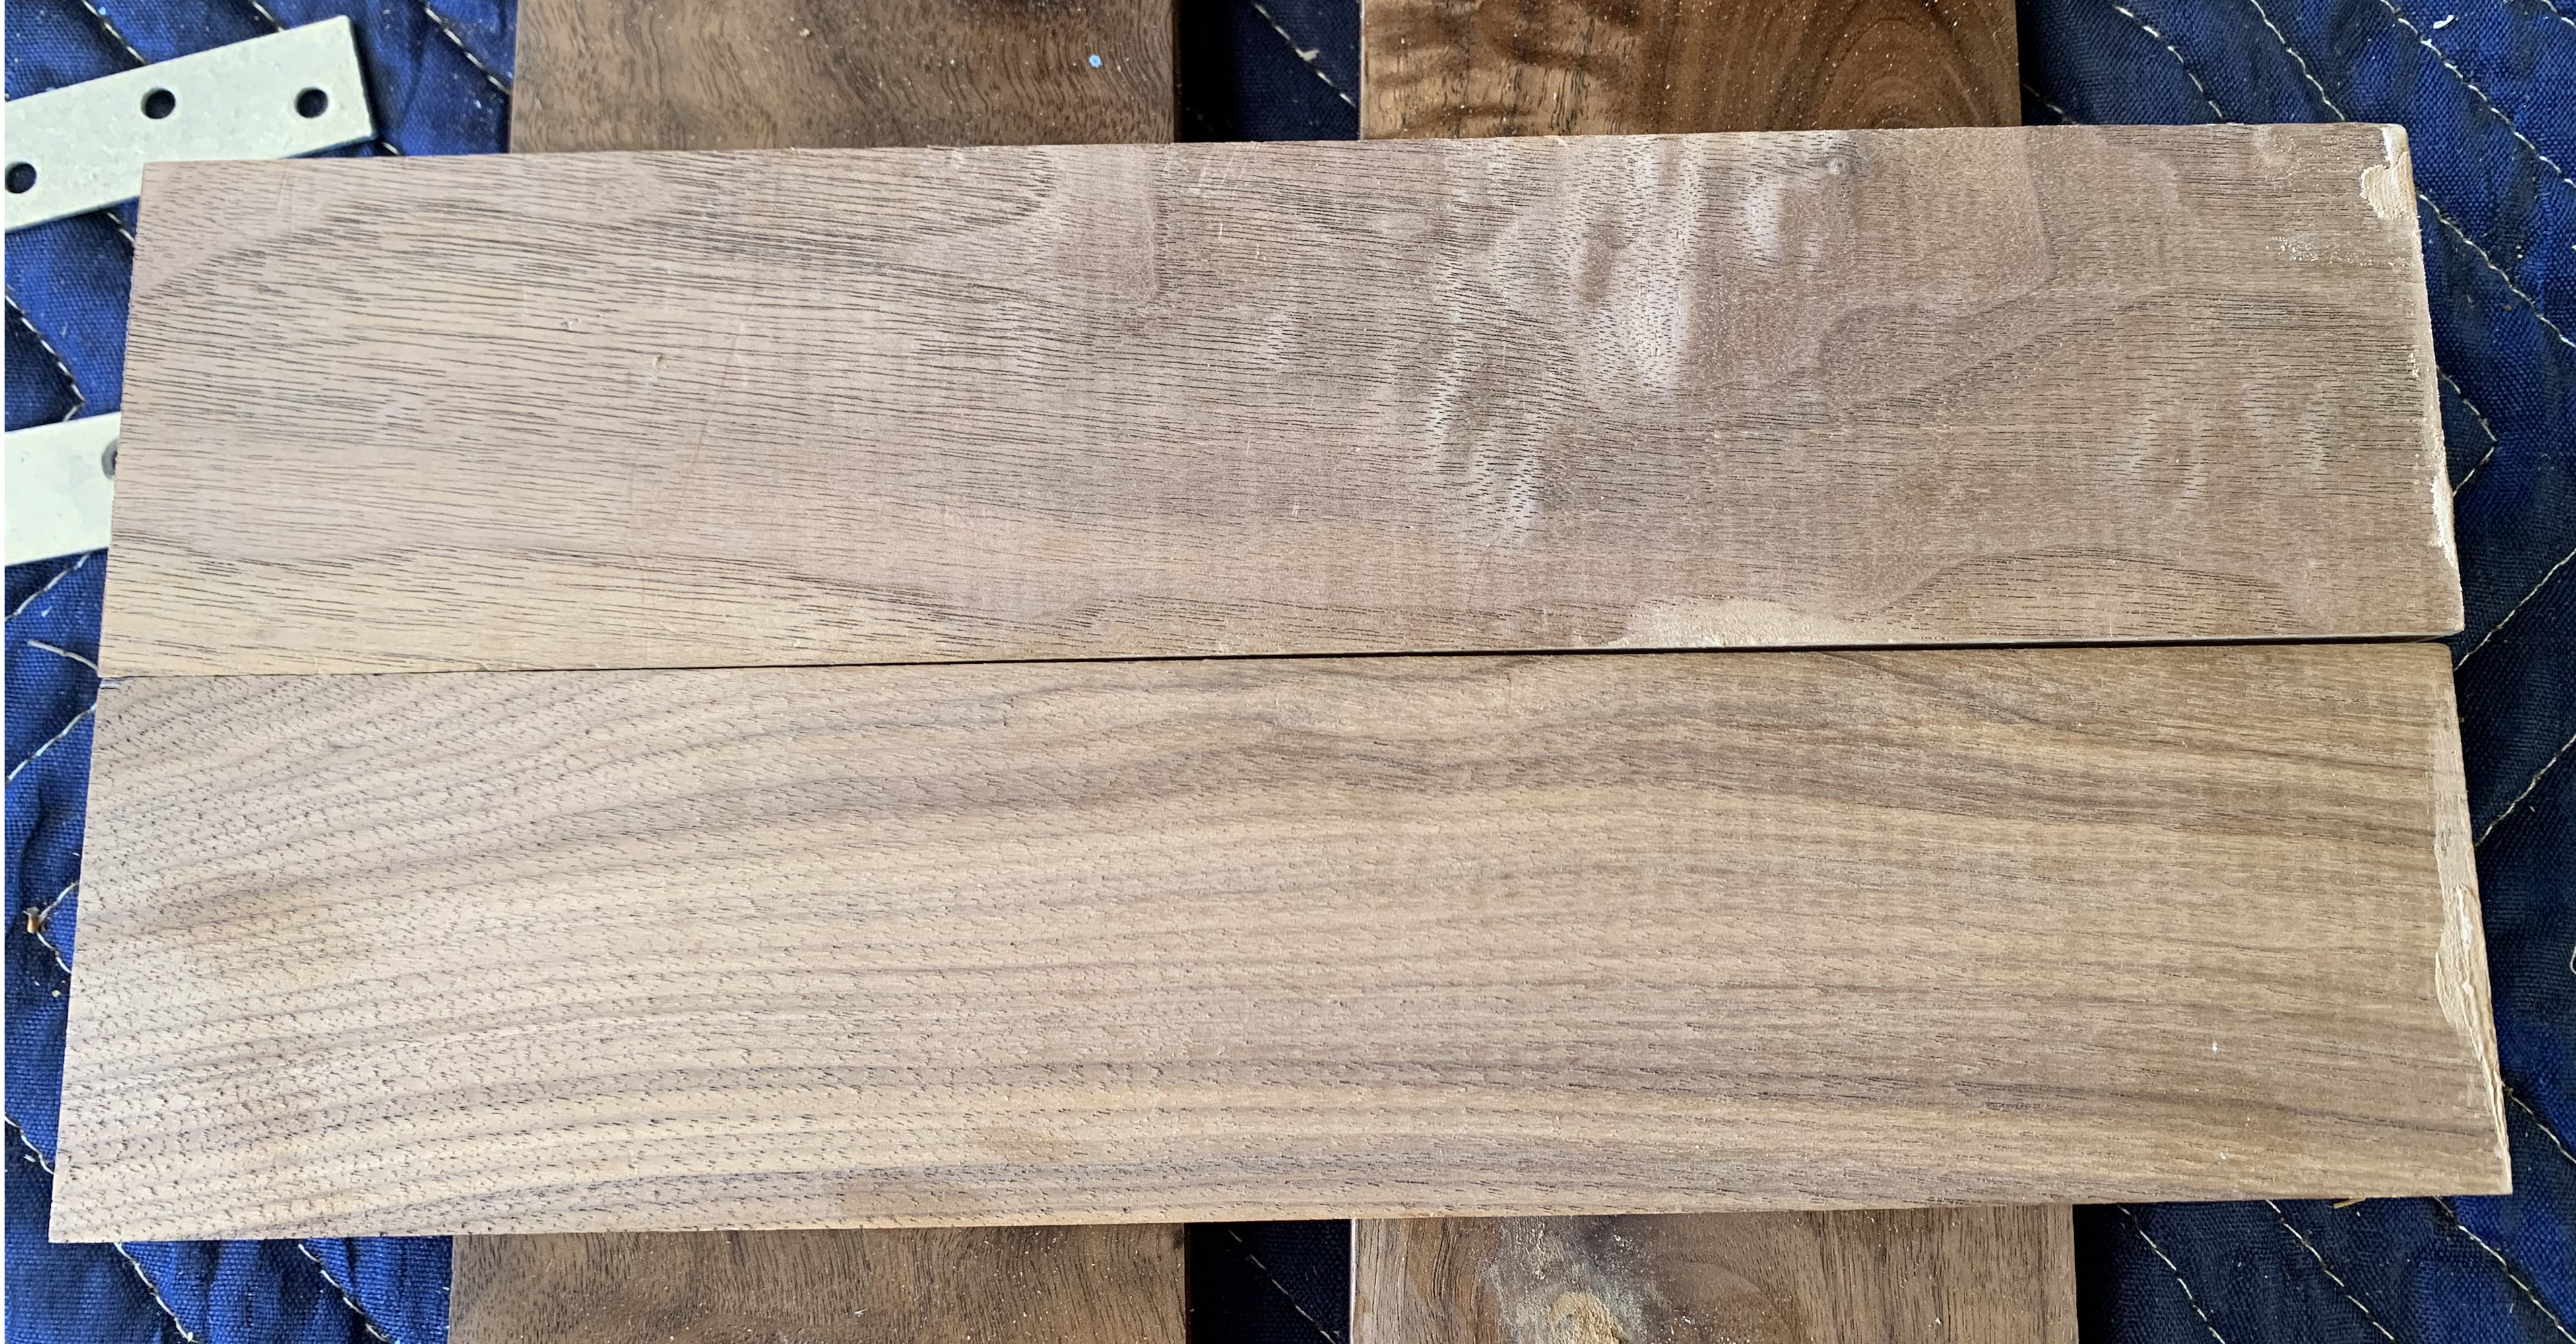
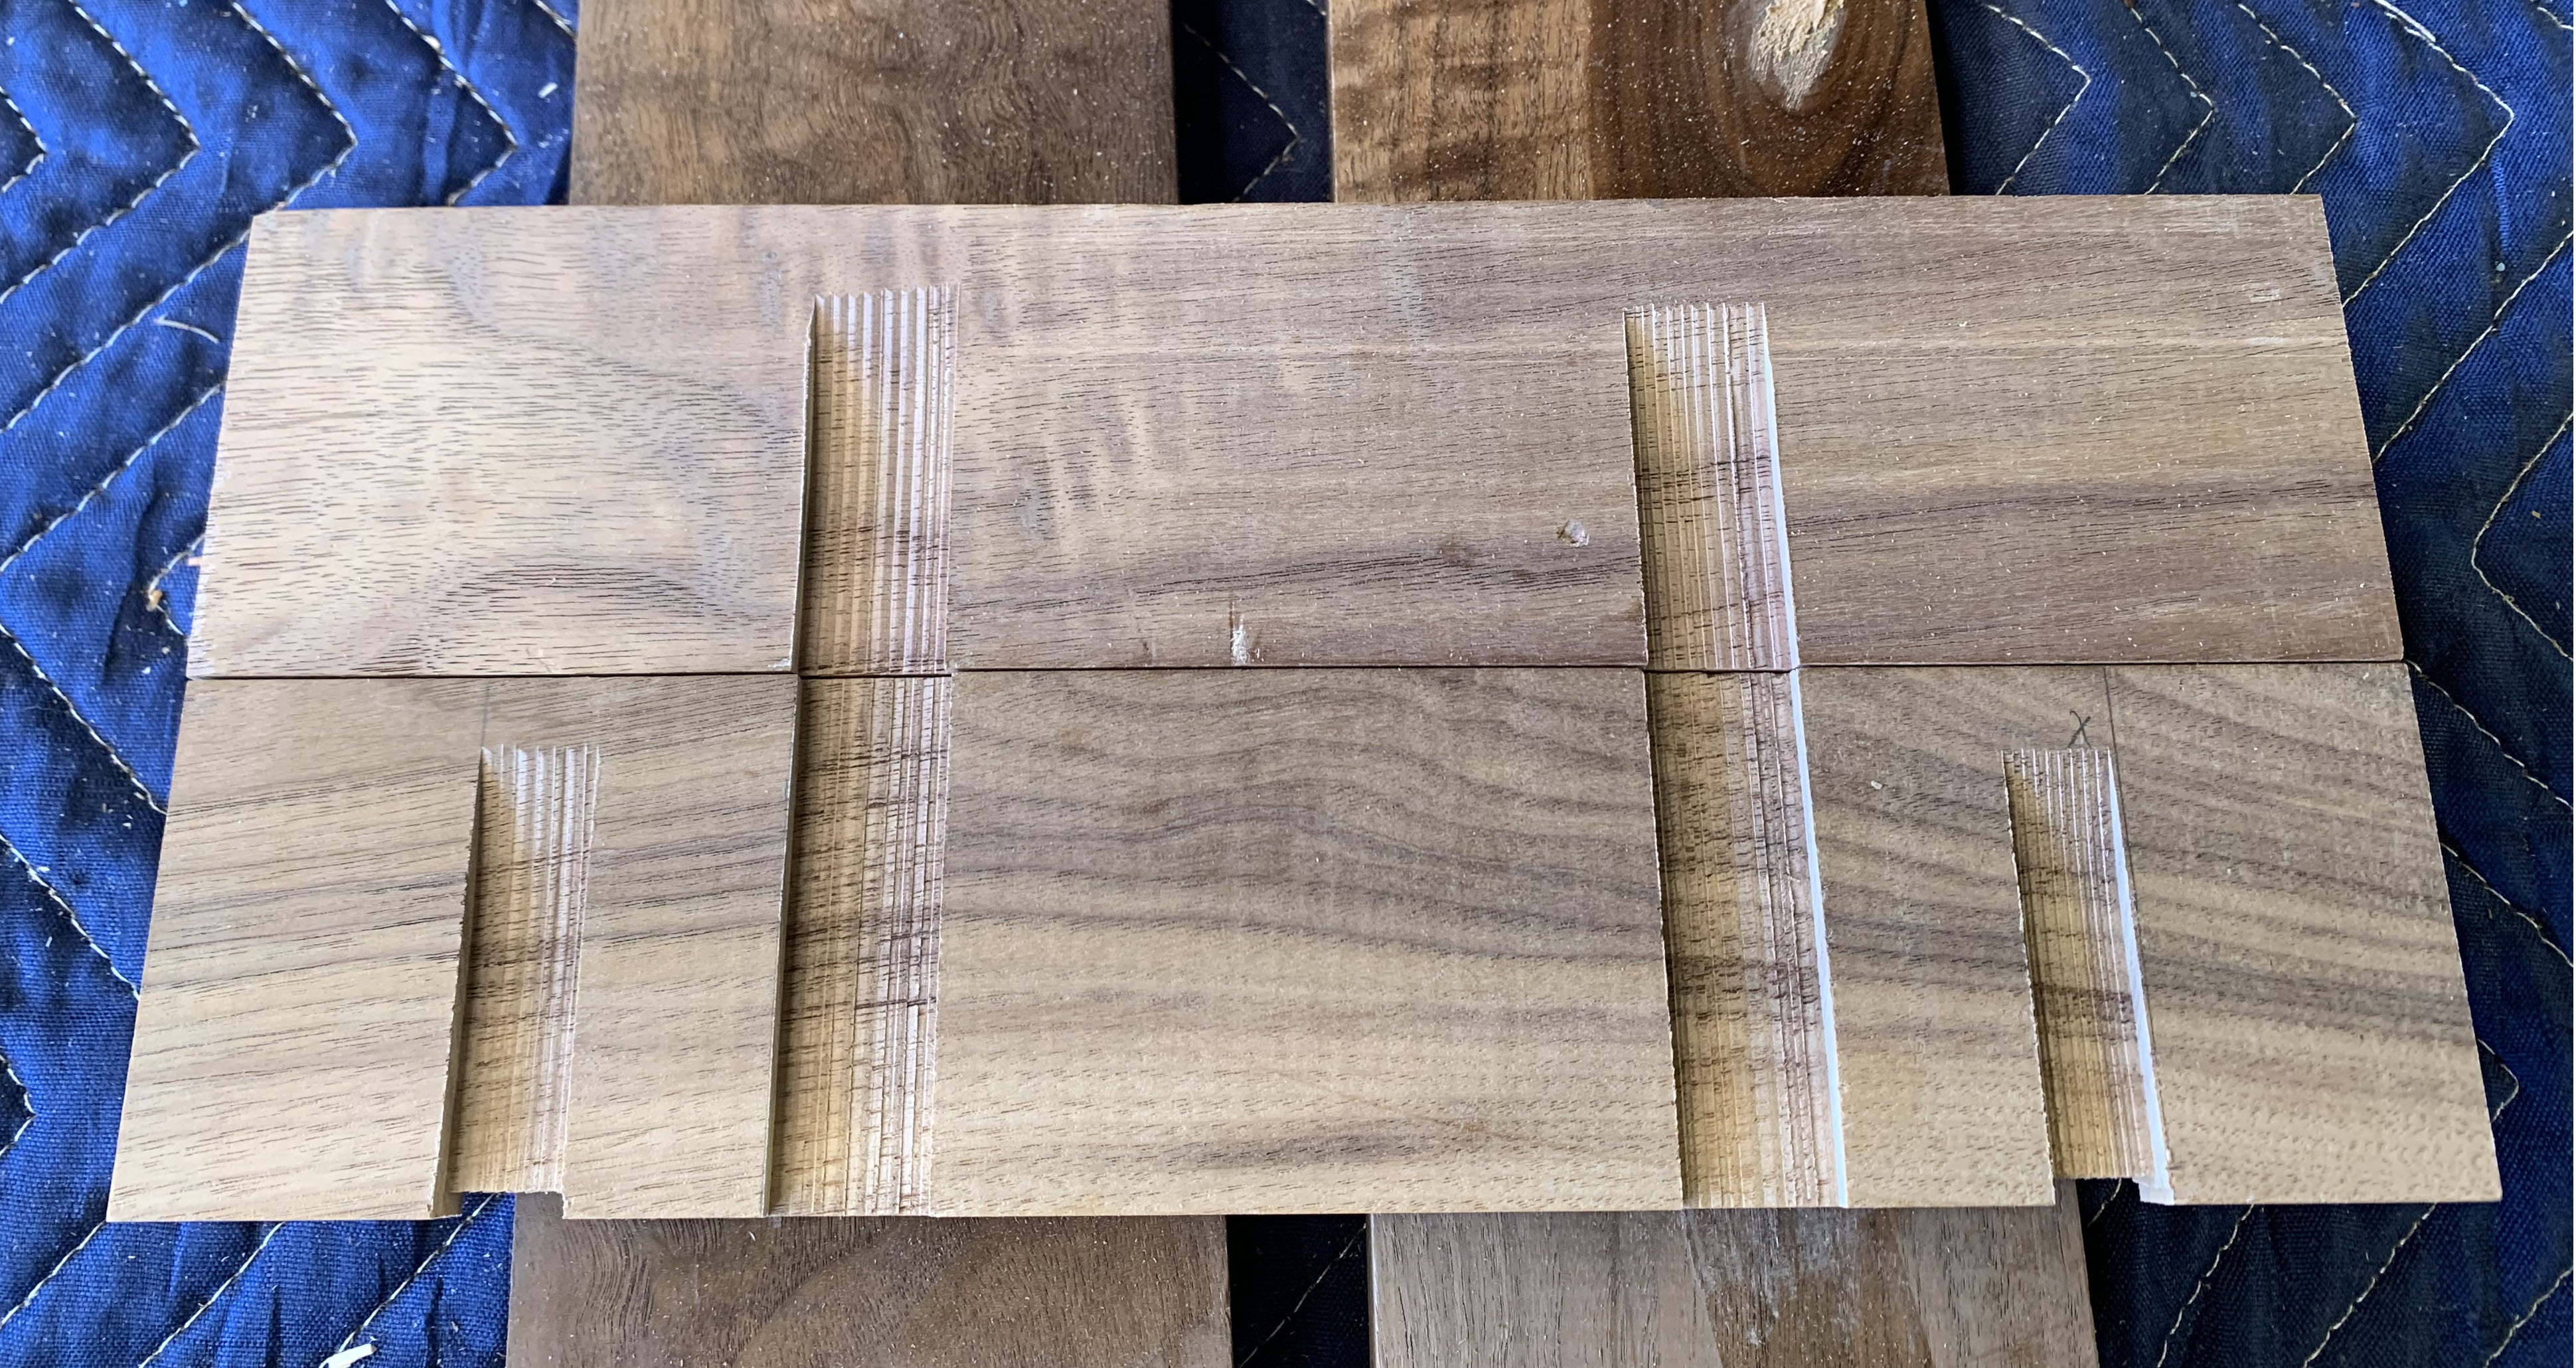
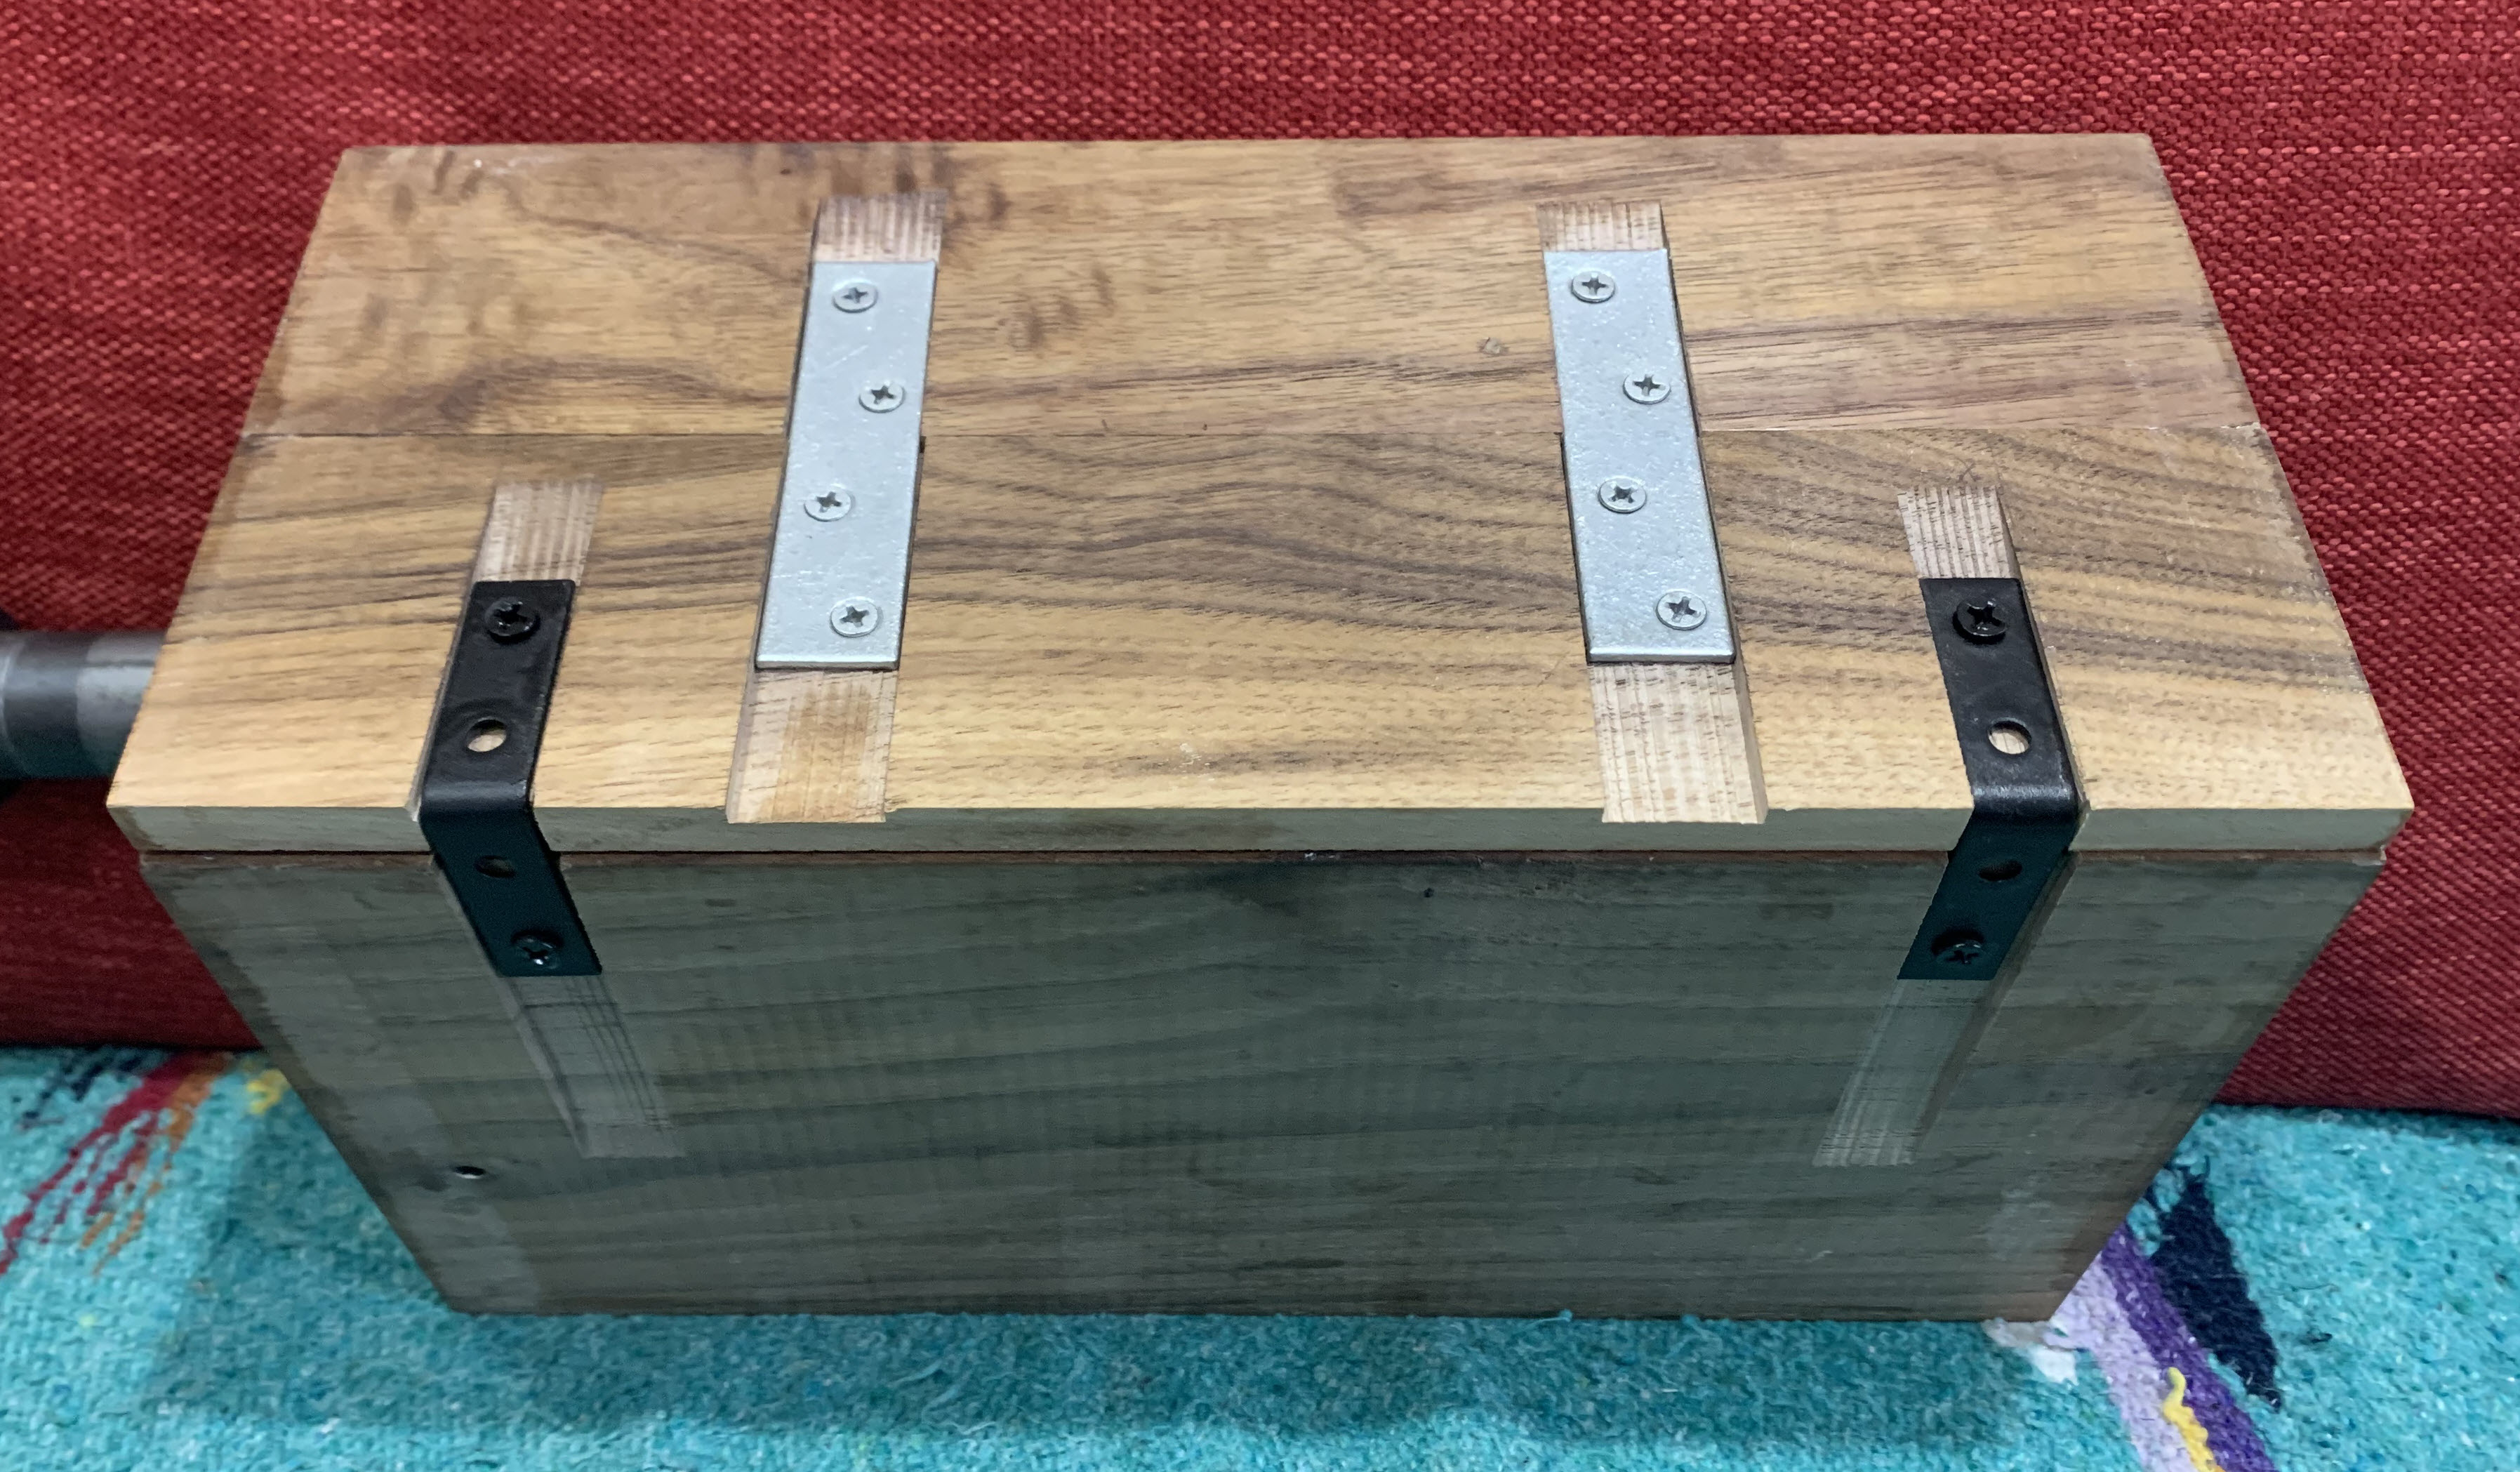
I considered glue, but that seemed to be tempting fate if I ever picked it from the back. Biscuits could mitigate some of that breakage risk but added time. So I opted to try metal bracing. I used a table saw to cut the slots so the braces could be countersunk
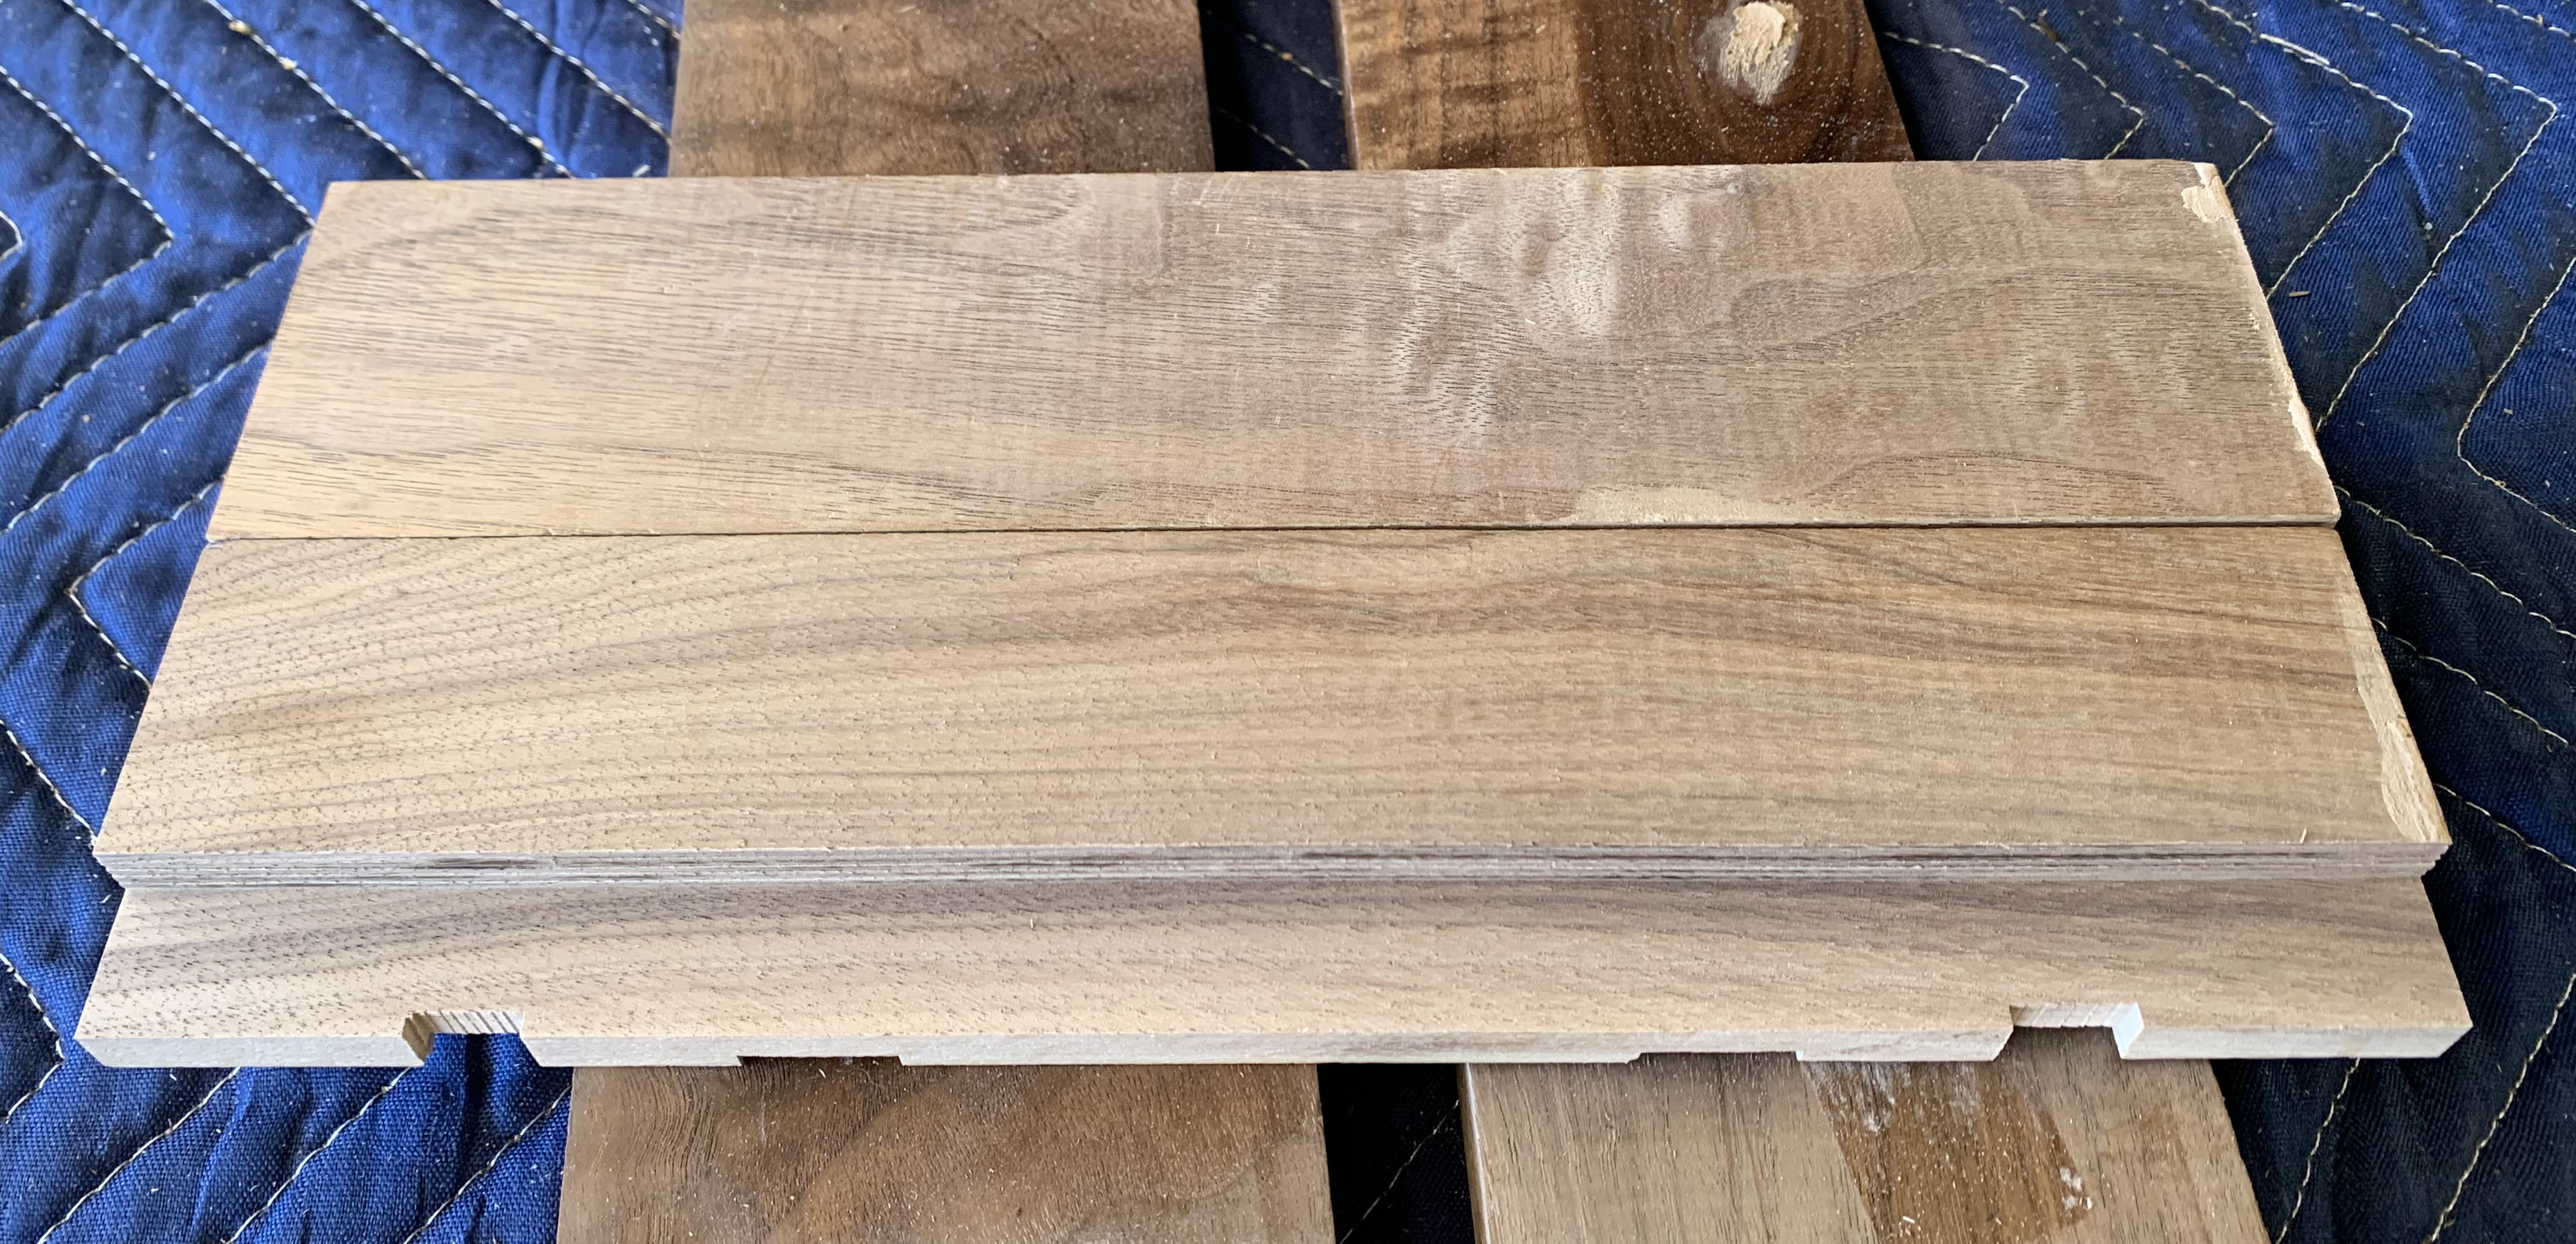
I also rabbeted the bottom edge on the front side (again using the table saw). Thought that might give it a little tighter fit when L-brackets were installed to attach it to the base.
The metal bracing holding the two boards together is visible in the next picture. Immediately below, is the end result of sanding through 100, 200, 400 grit sandpaper, and 6 coats of the Tung oil with a light sanding between each coat.
Here’s the assembly. Not the prettiest. Then again, most backsides are not intended to be
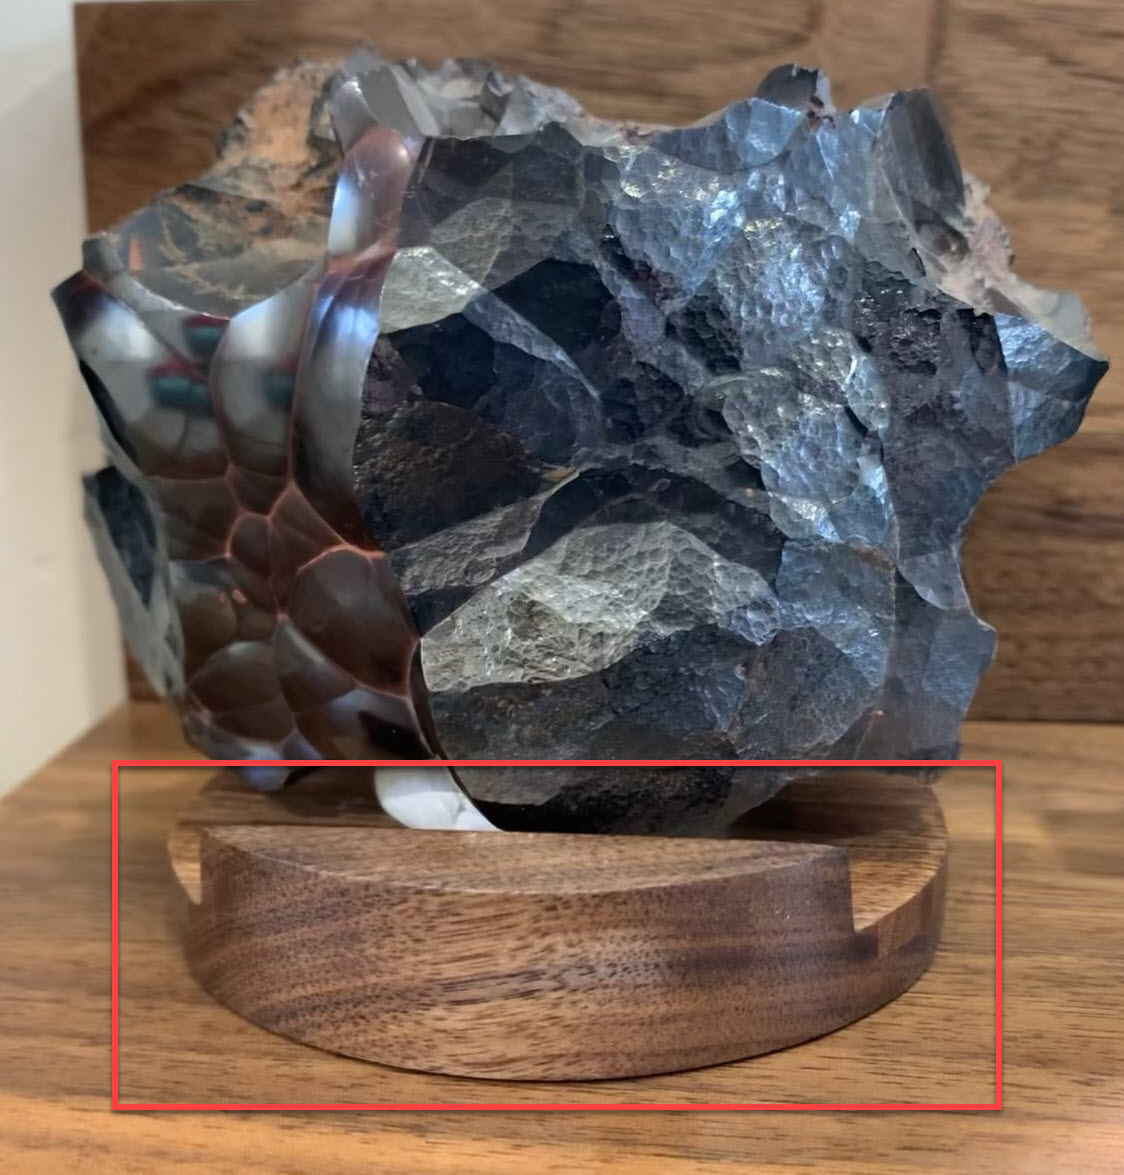
“Display Piece”
I wasn’t interested in permanently affixing the Hematite to the stand so I came up with using another smaller base that I could attach it to using museum putty.
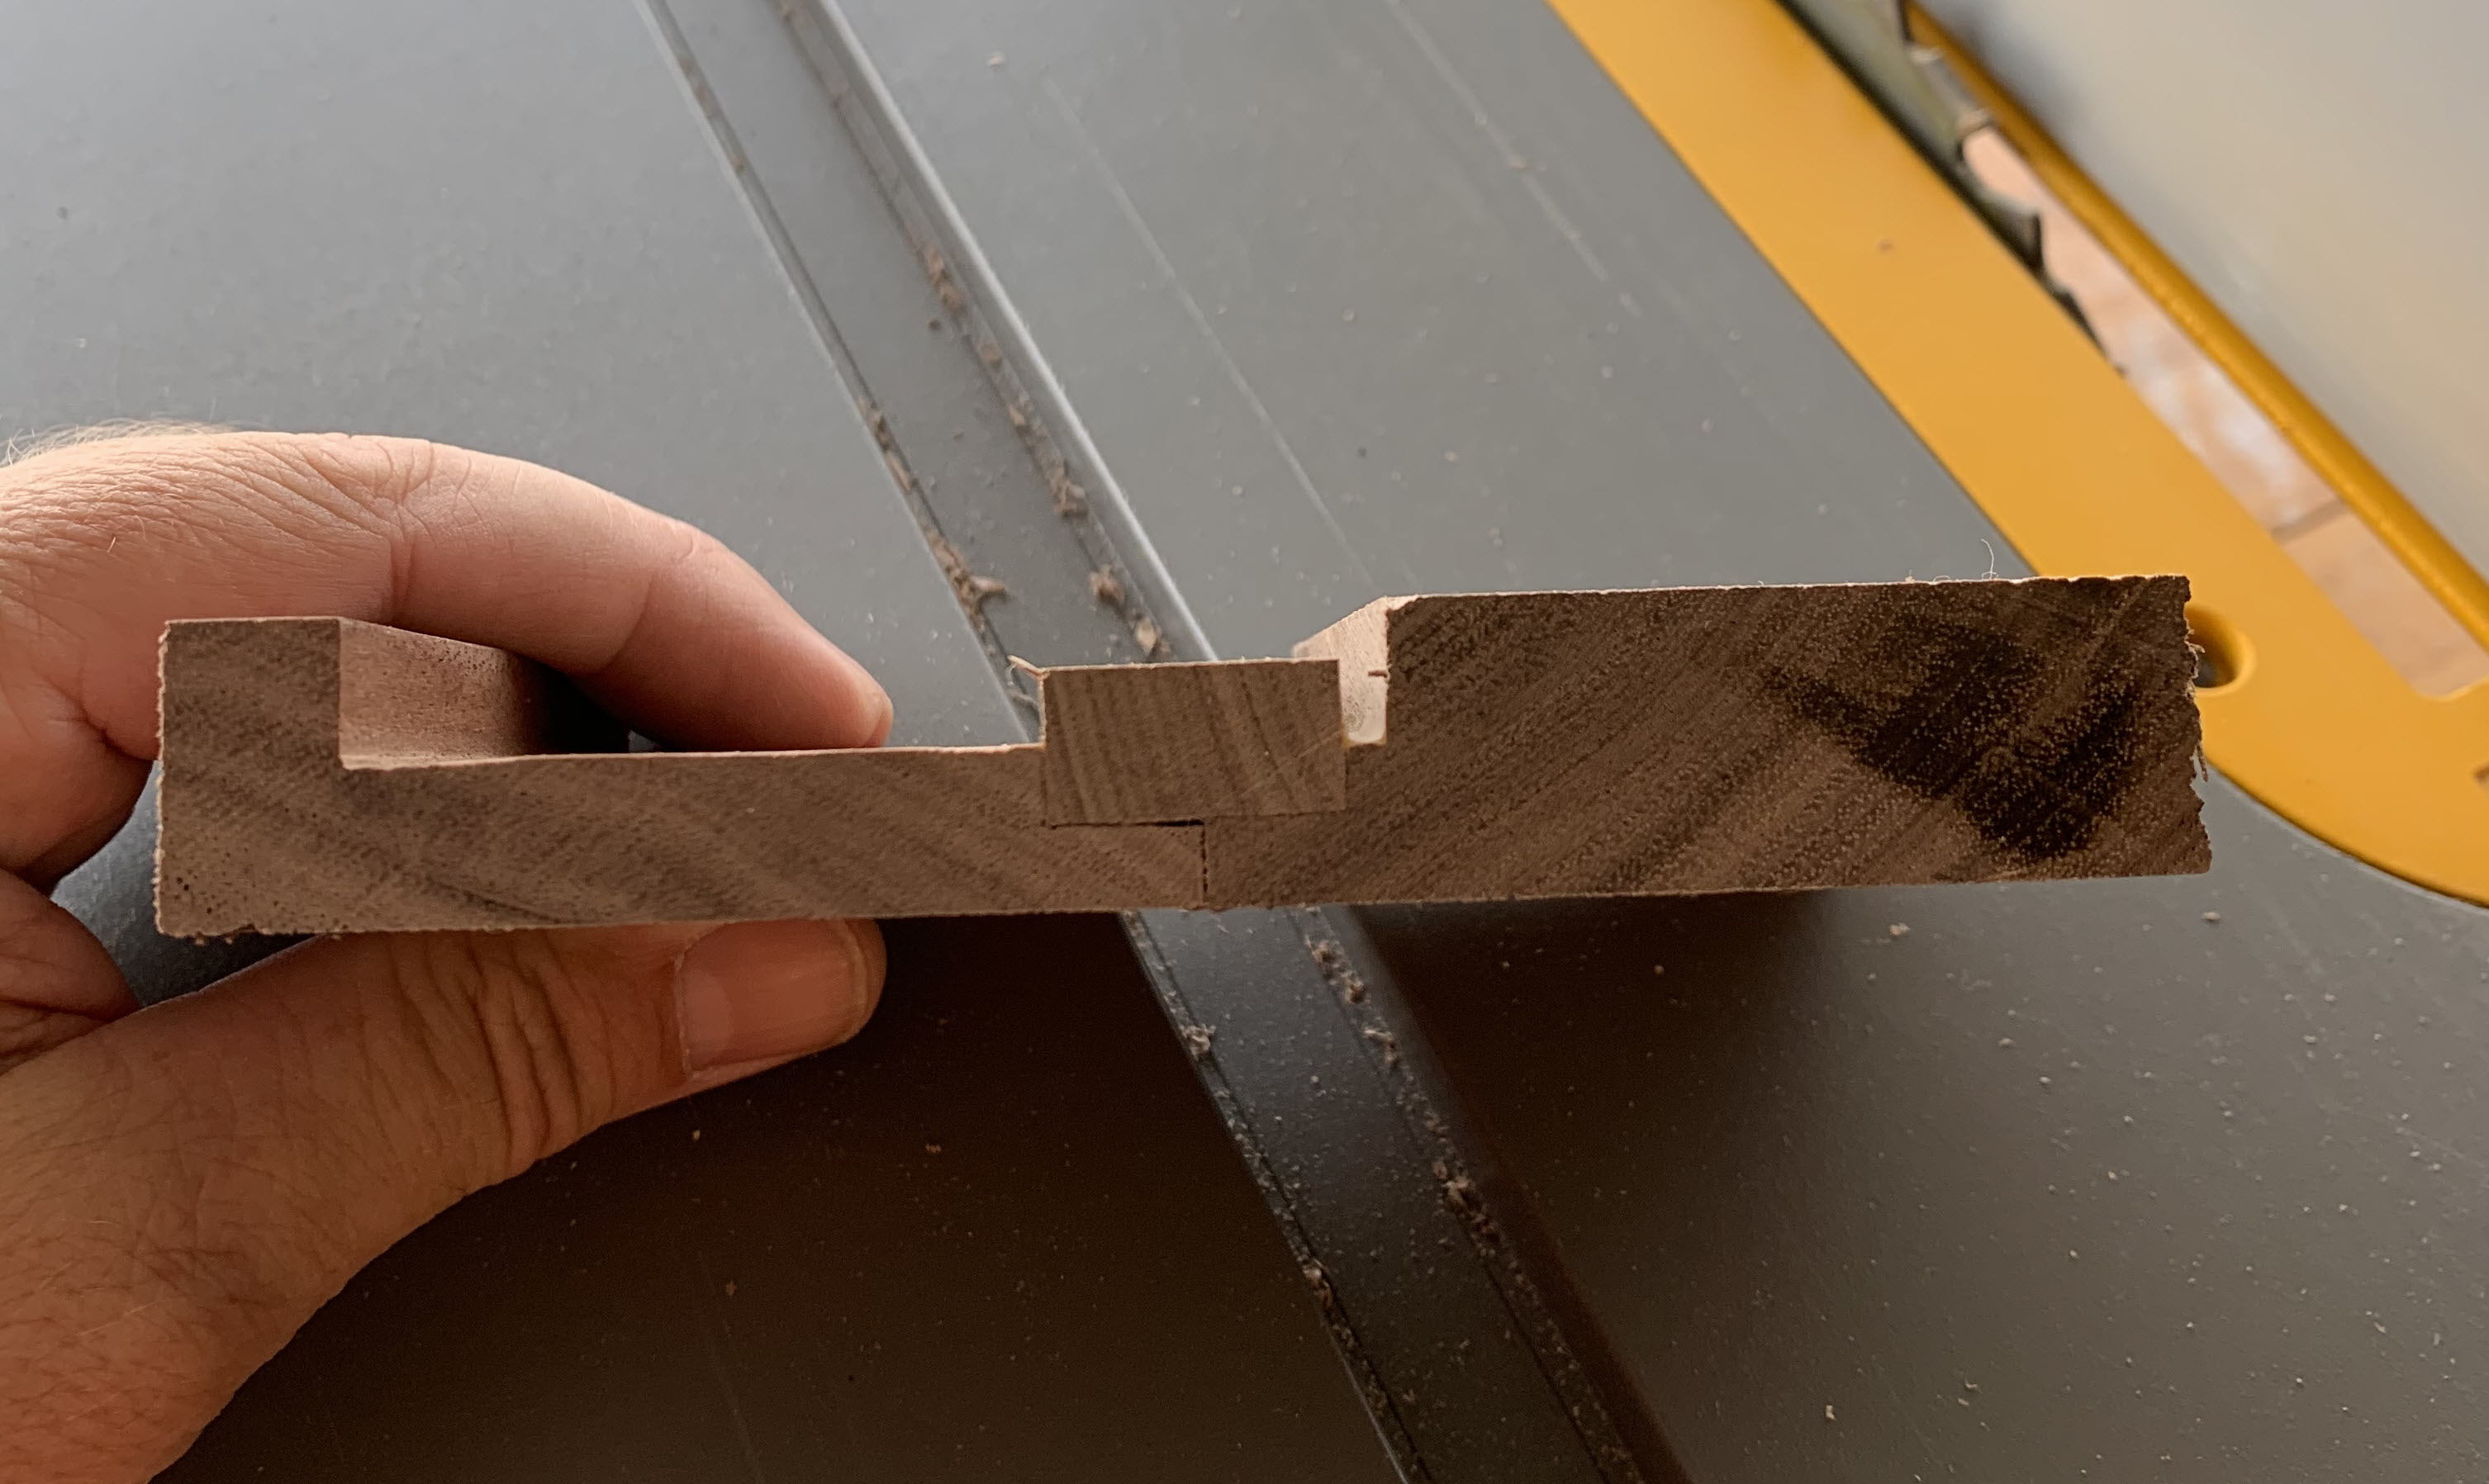
The bads news was all my scrap cuttings were too small so I had no choice but to try gluing something together to get the right size. I wanted to maximize the glue contact area so I rabbeted the two edges to be glued and inserted a third piece into the void that was created. Cutting opposing rabbets probably would have worked just as well. There’s some risk I wouldn’t have gotten the depth just right so the approach I took seem a little simpler.
Let the glue dry for 24 hours, then removed the excess material with a few passes over a table saw. Block sanded the interior space to remove the ridges left behind.
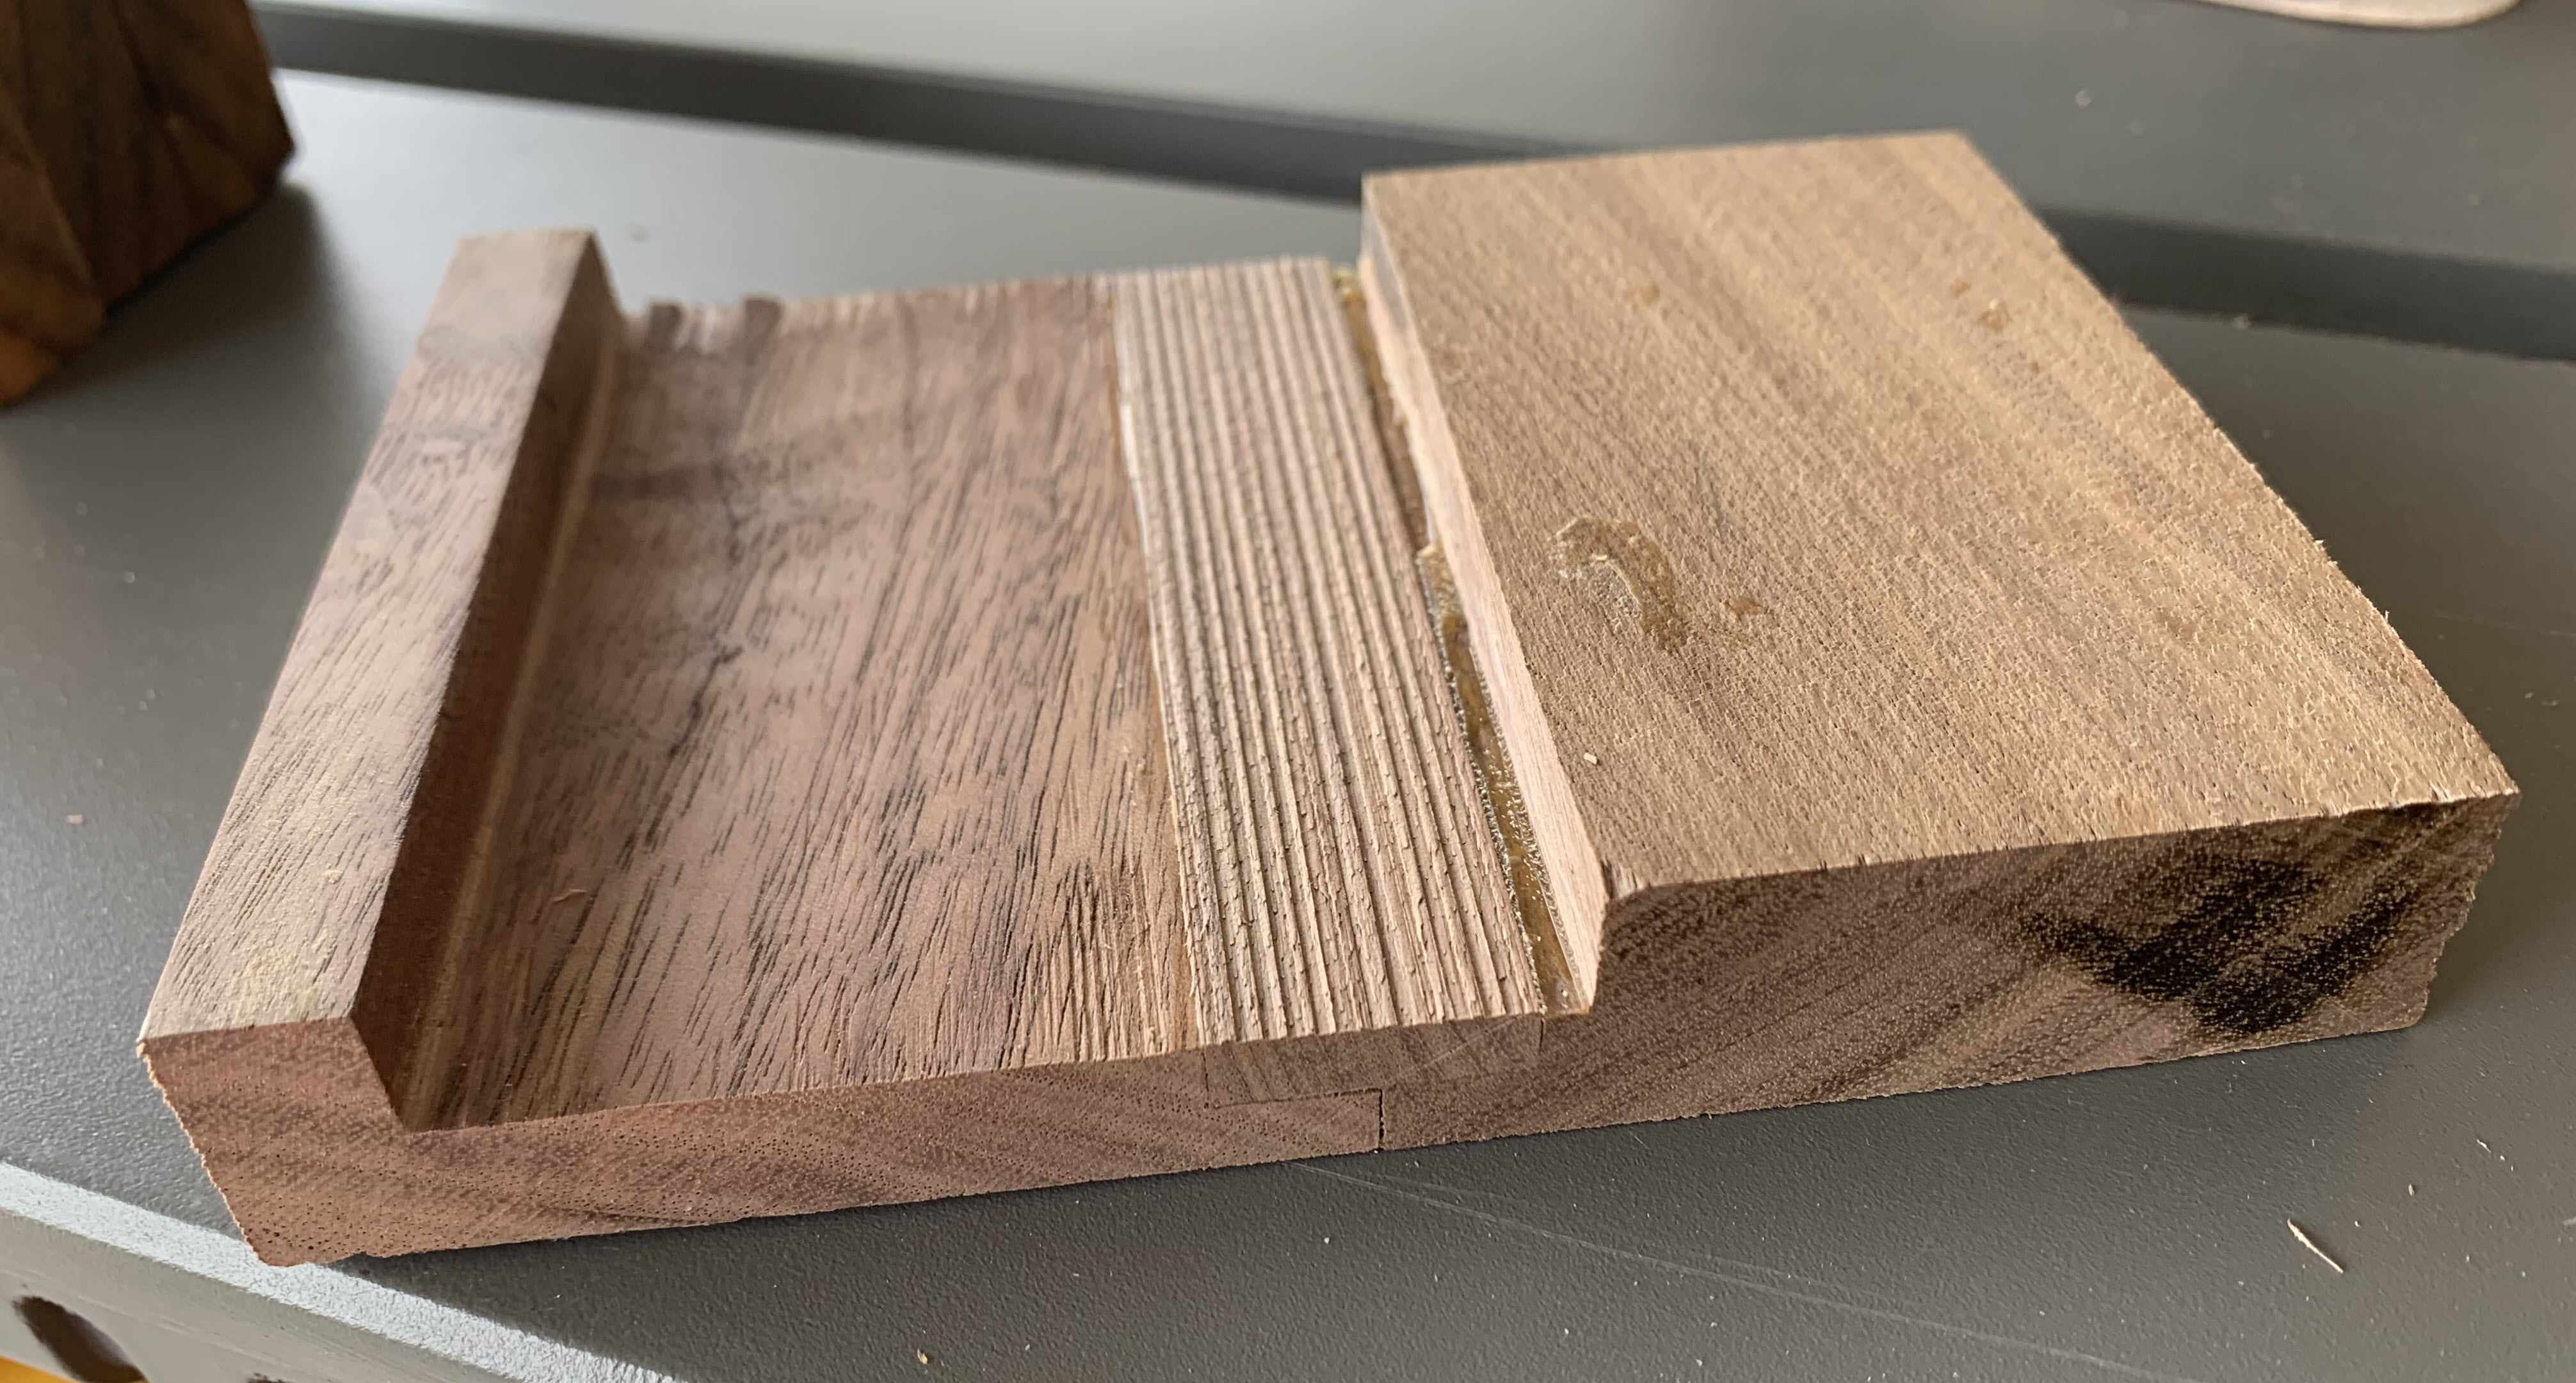
Used the base of the black piping to trace a circle on the backside. Rought cut the excess material with a miter saw, then hand sanded everything to get the final shape.
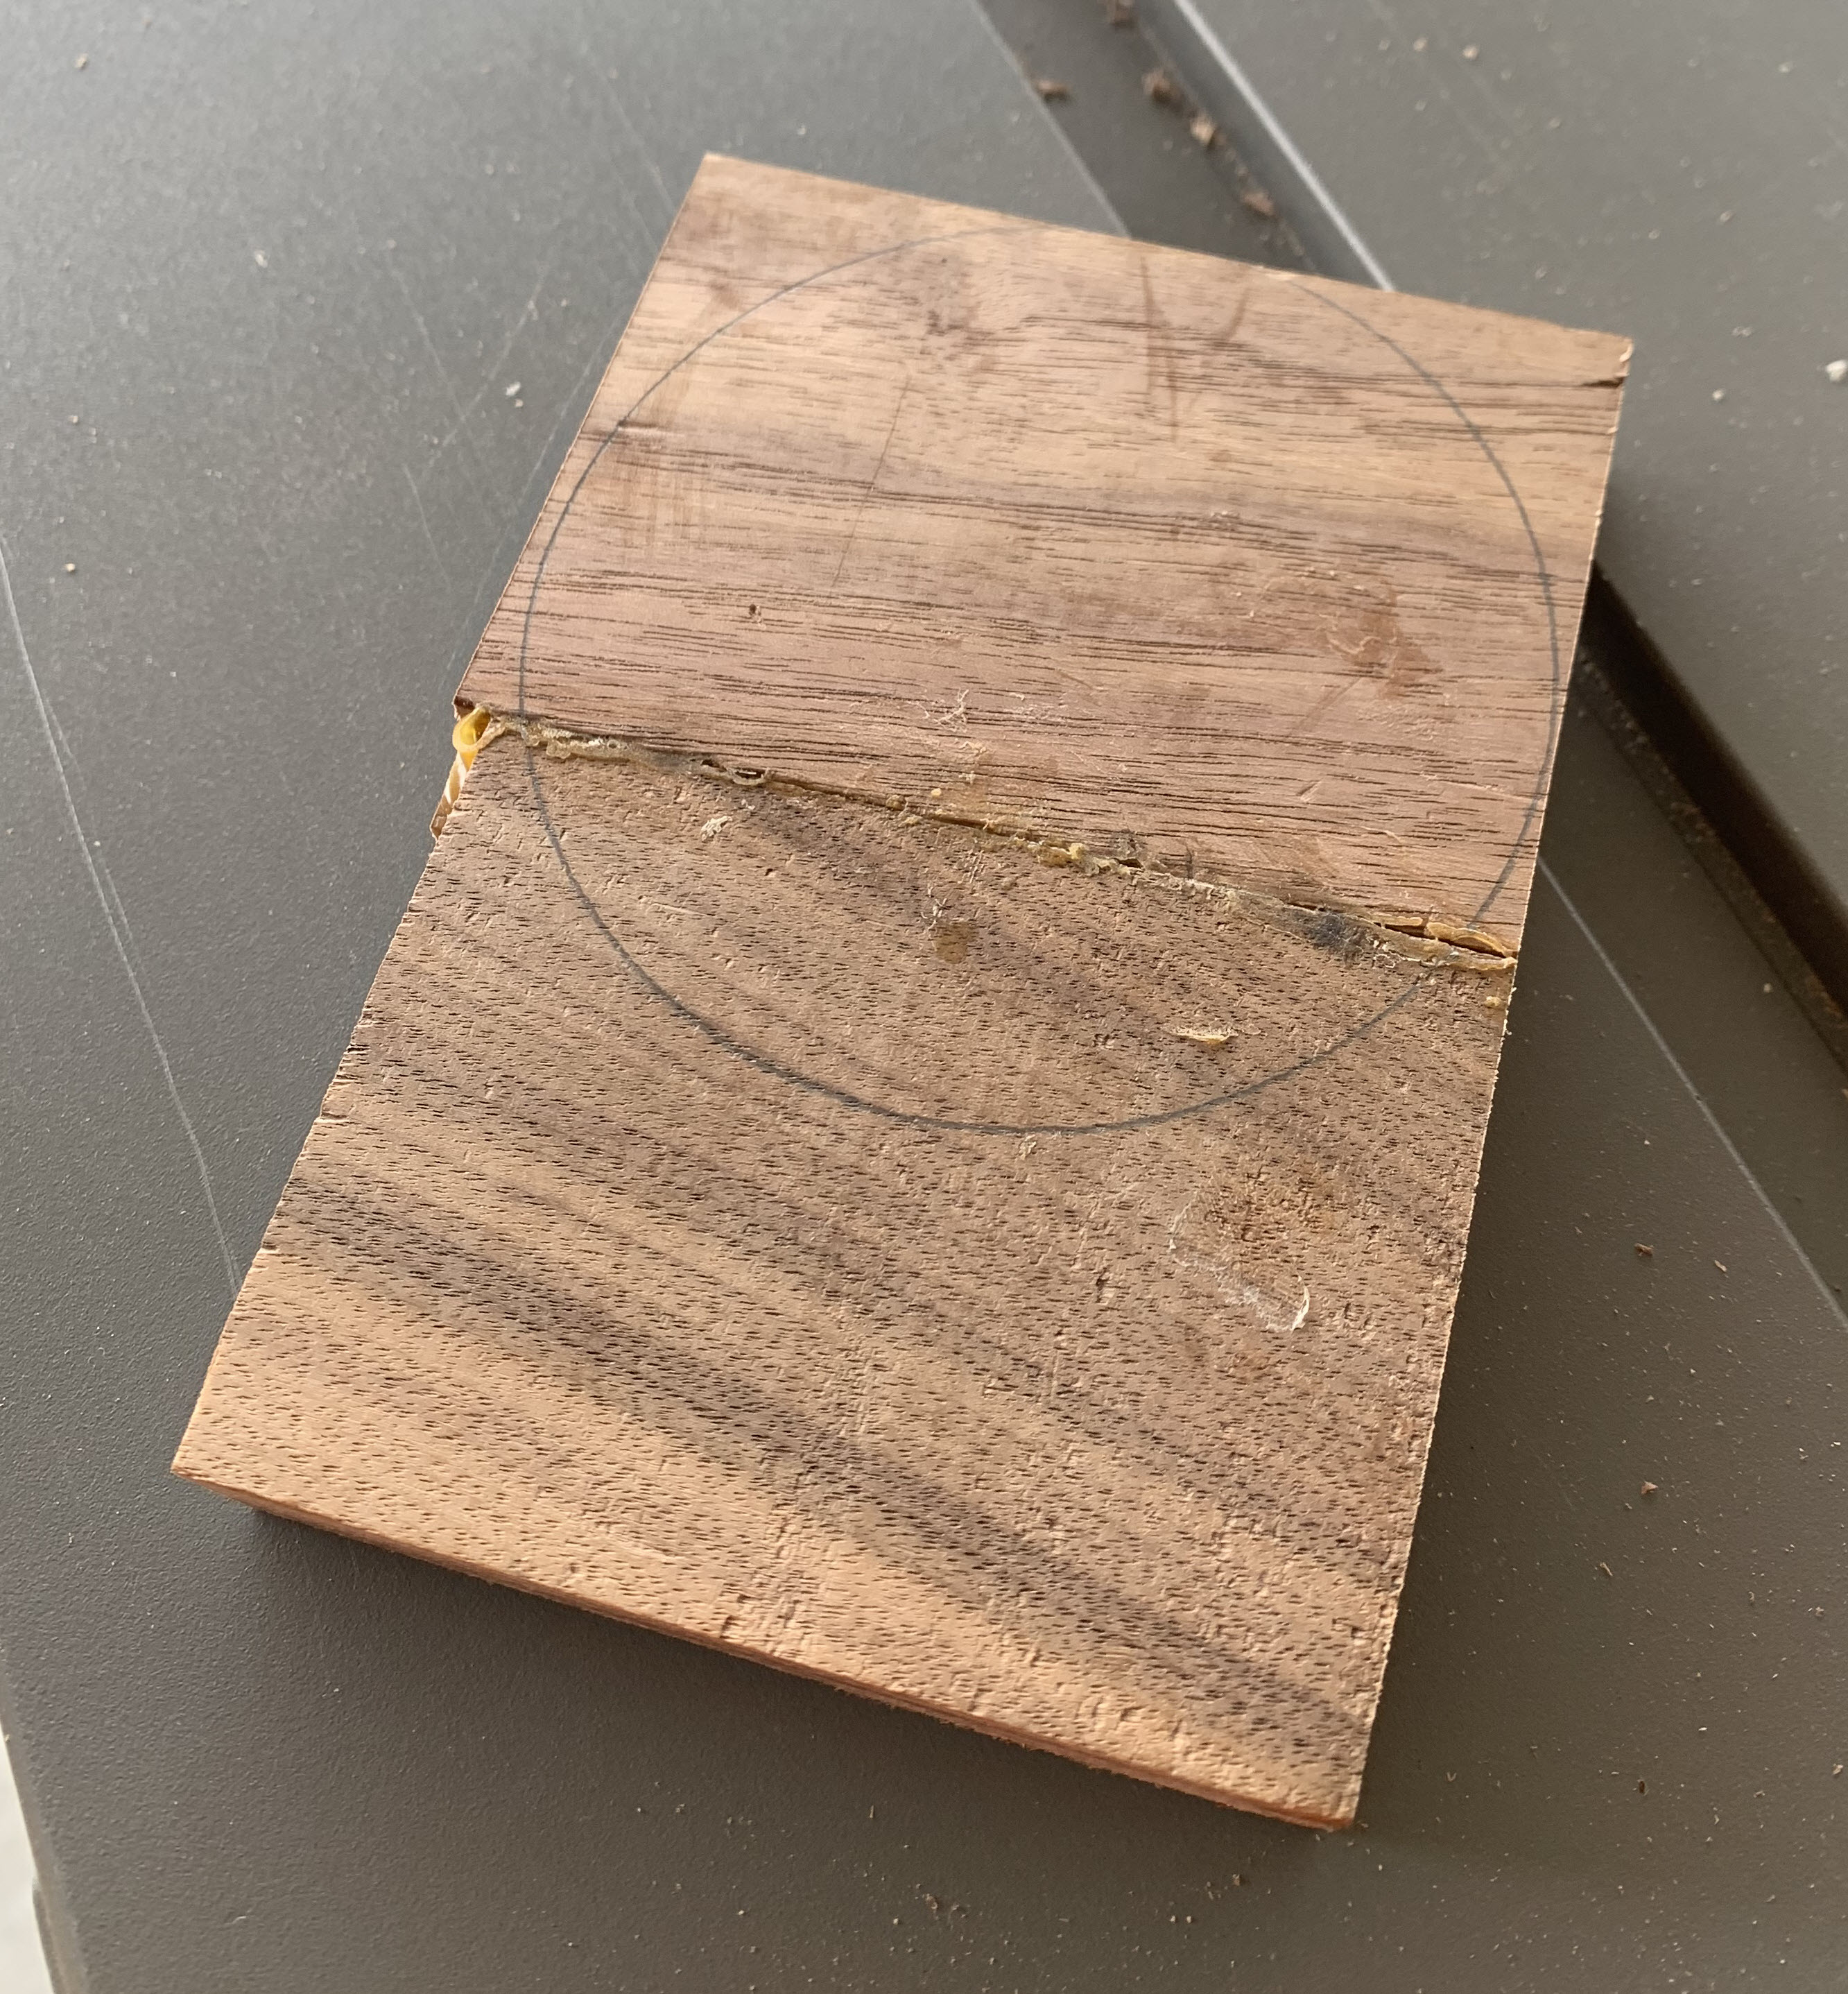
It’s not perfectly round, but pretty close. The glued joint could also be better, but its the bottom… not going to worry about it.
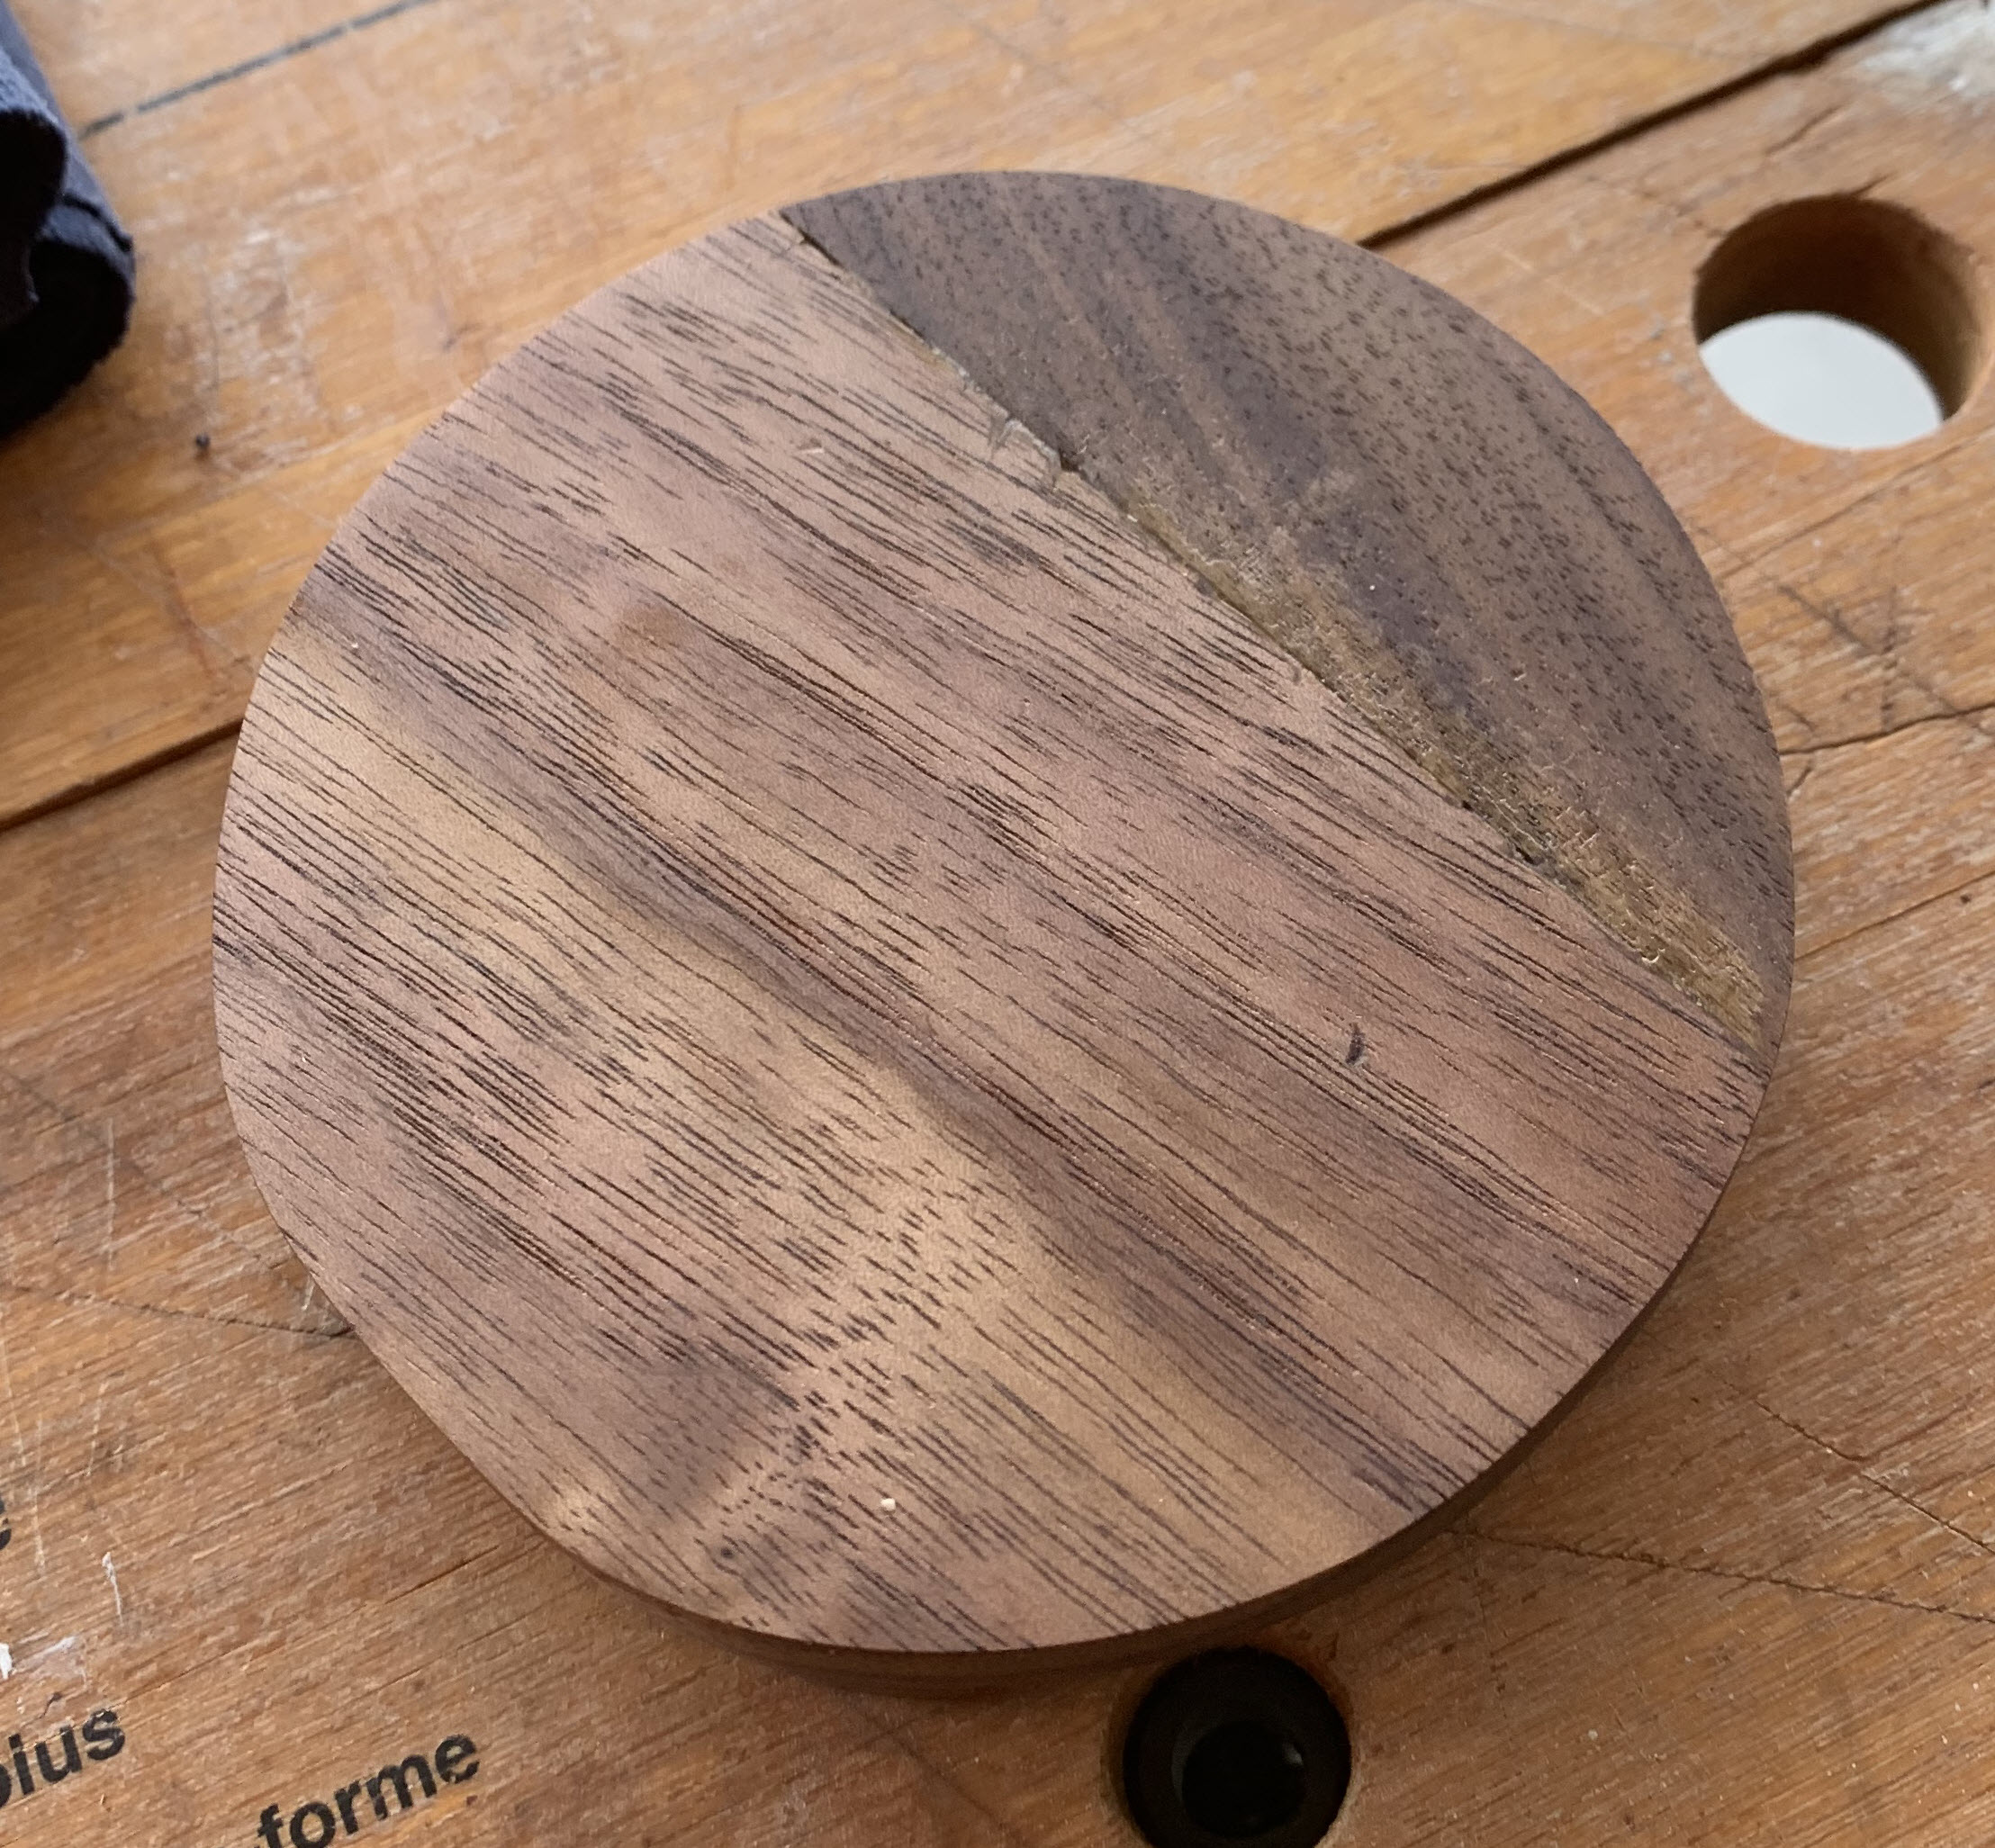
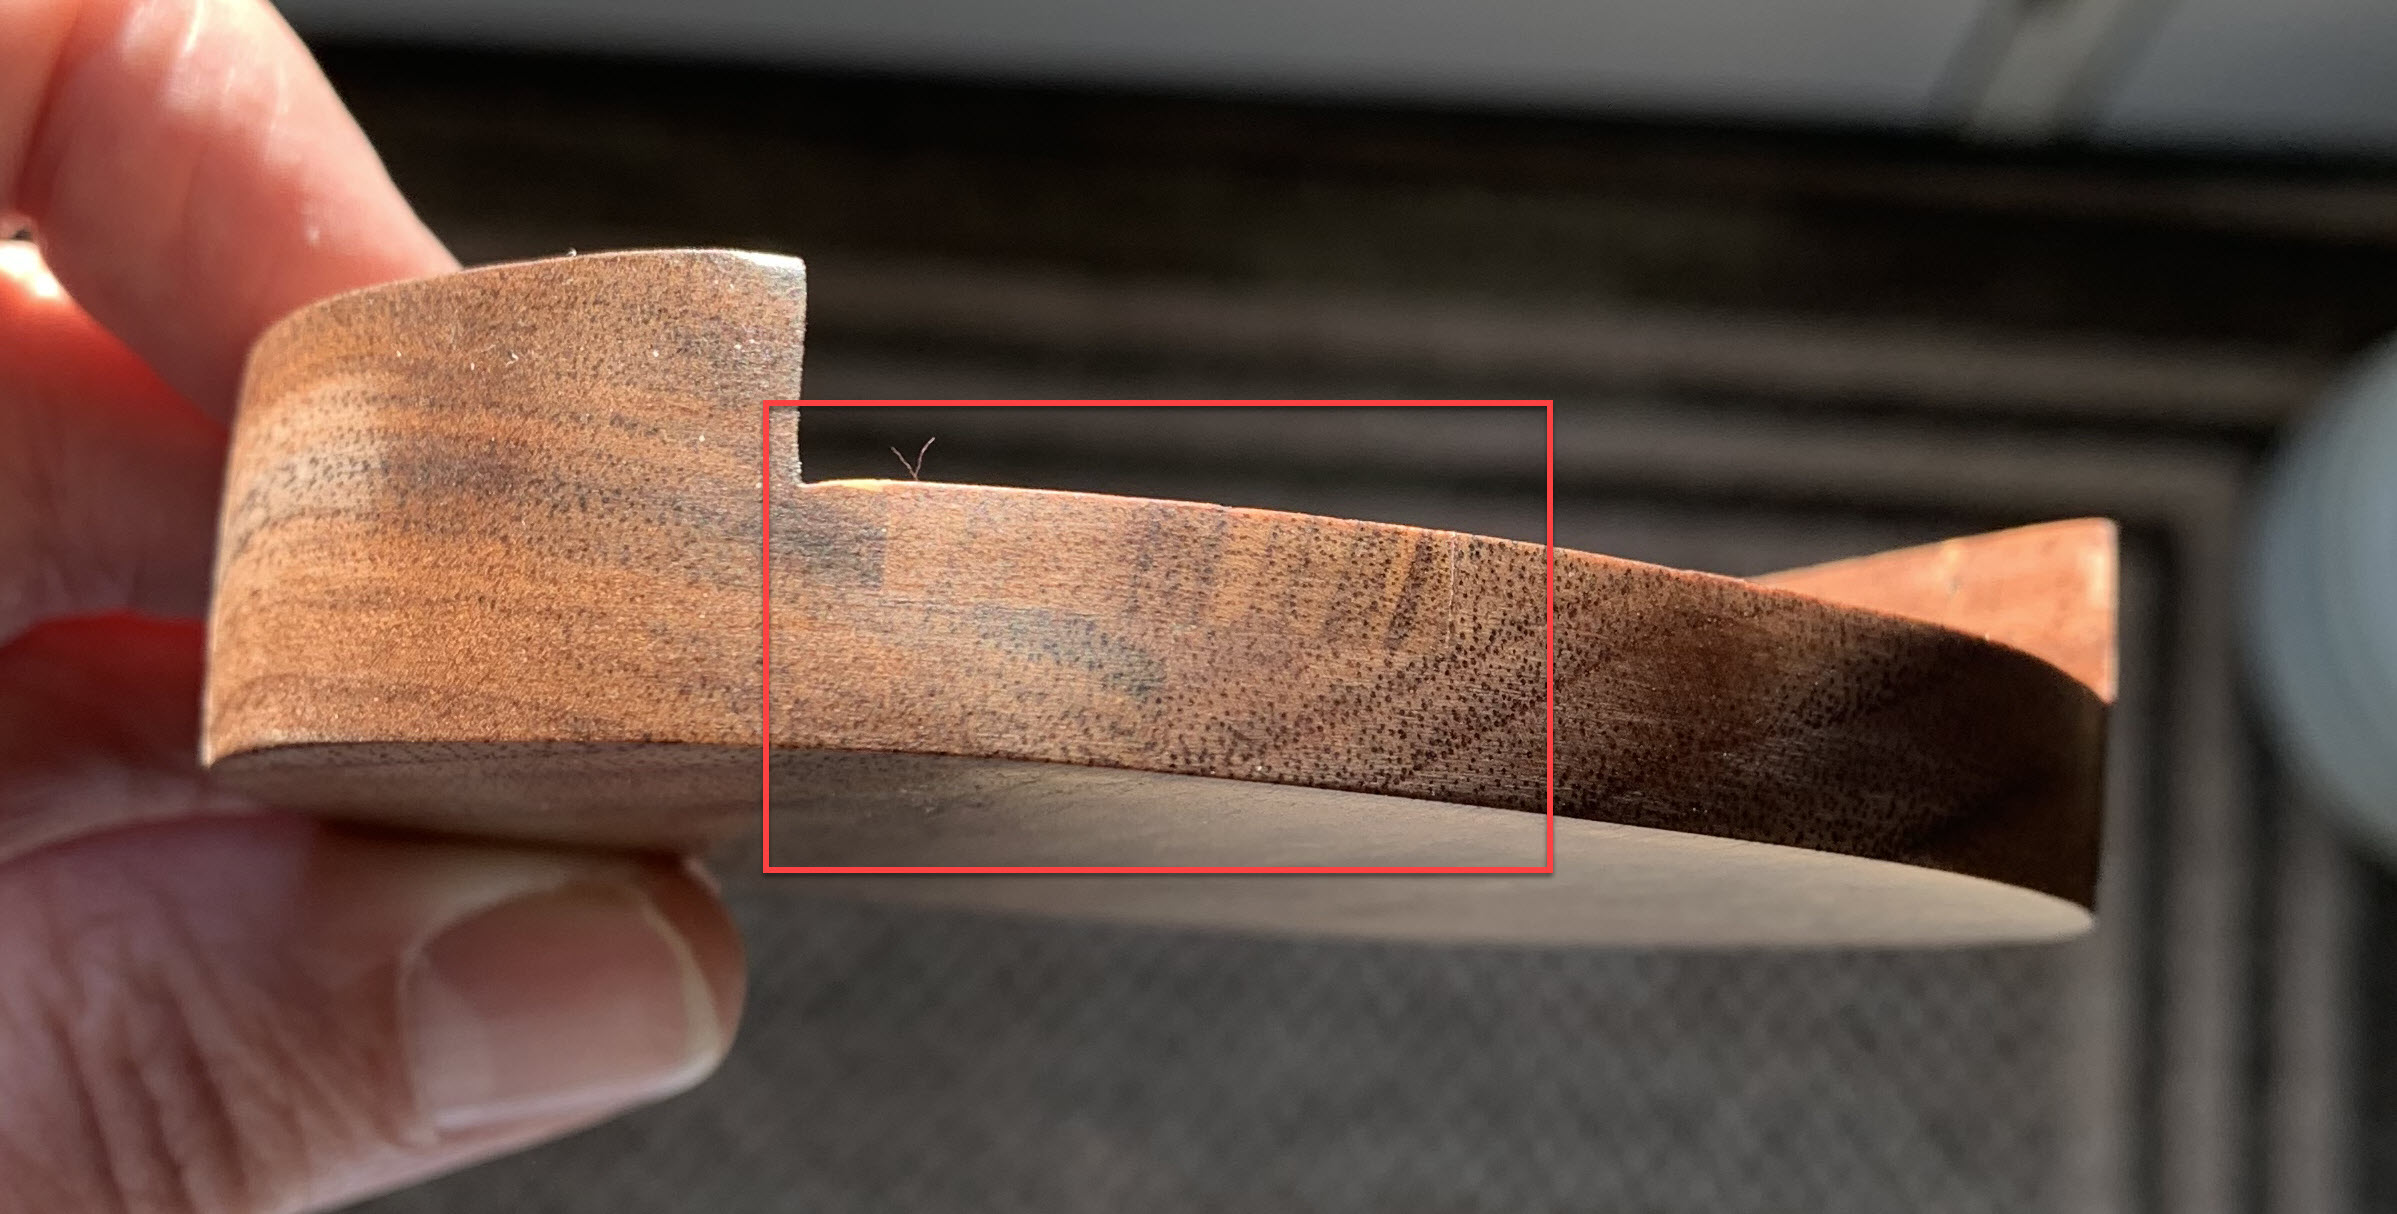
Top side: sanded and stained using same method outlined above. This joint I did care about. The different grain patterns give it away, otherwise it would be hard to pick out.
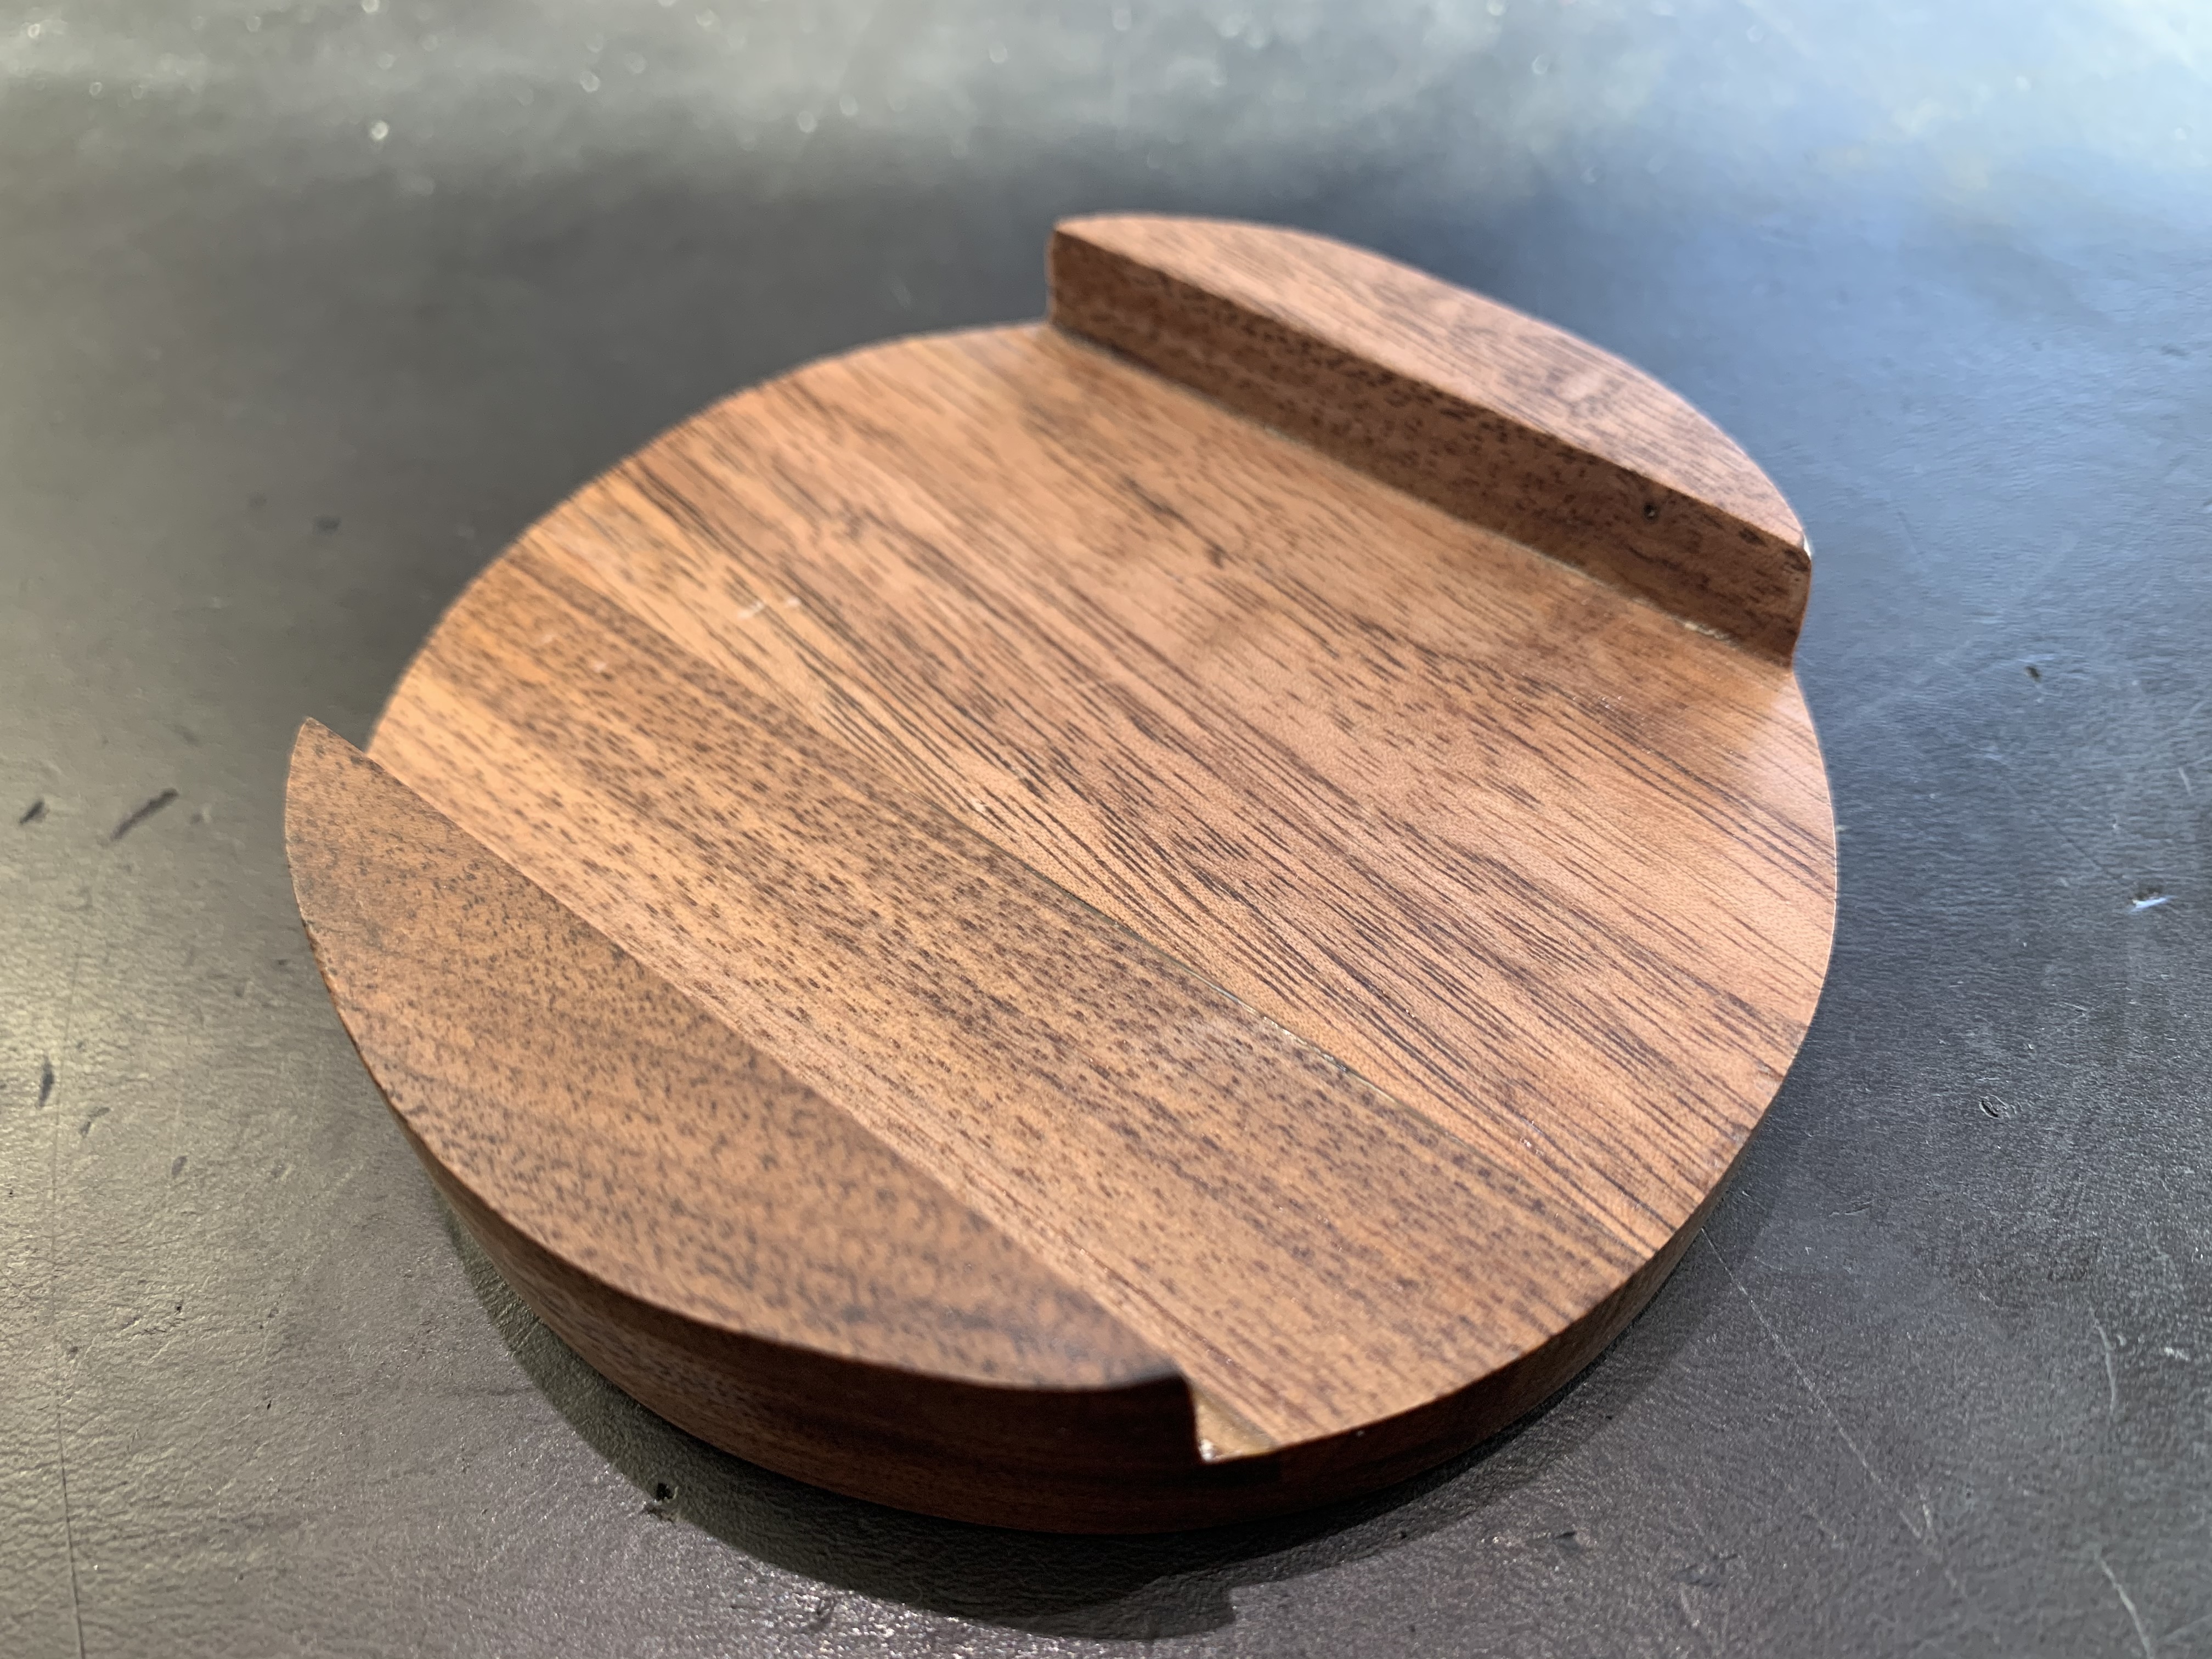
Profile close-up: can barely see the glued joint.
Other details:
- The black pipes needs to be clear coated. If it is not protected it will eventually start to rust from the ambient humidity in the air
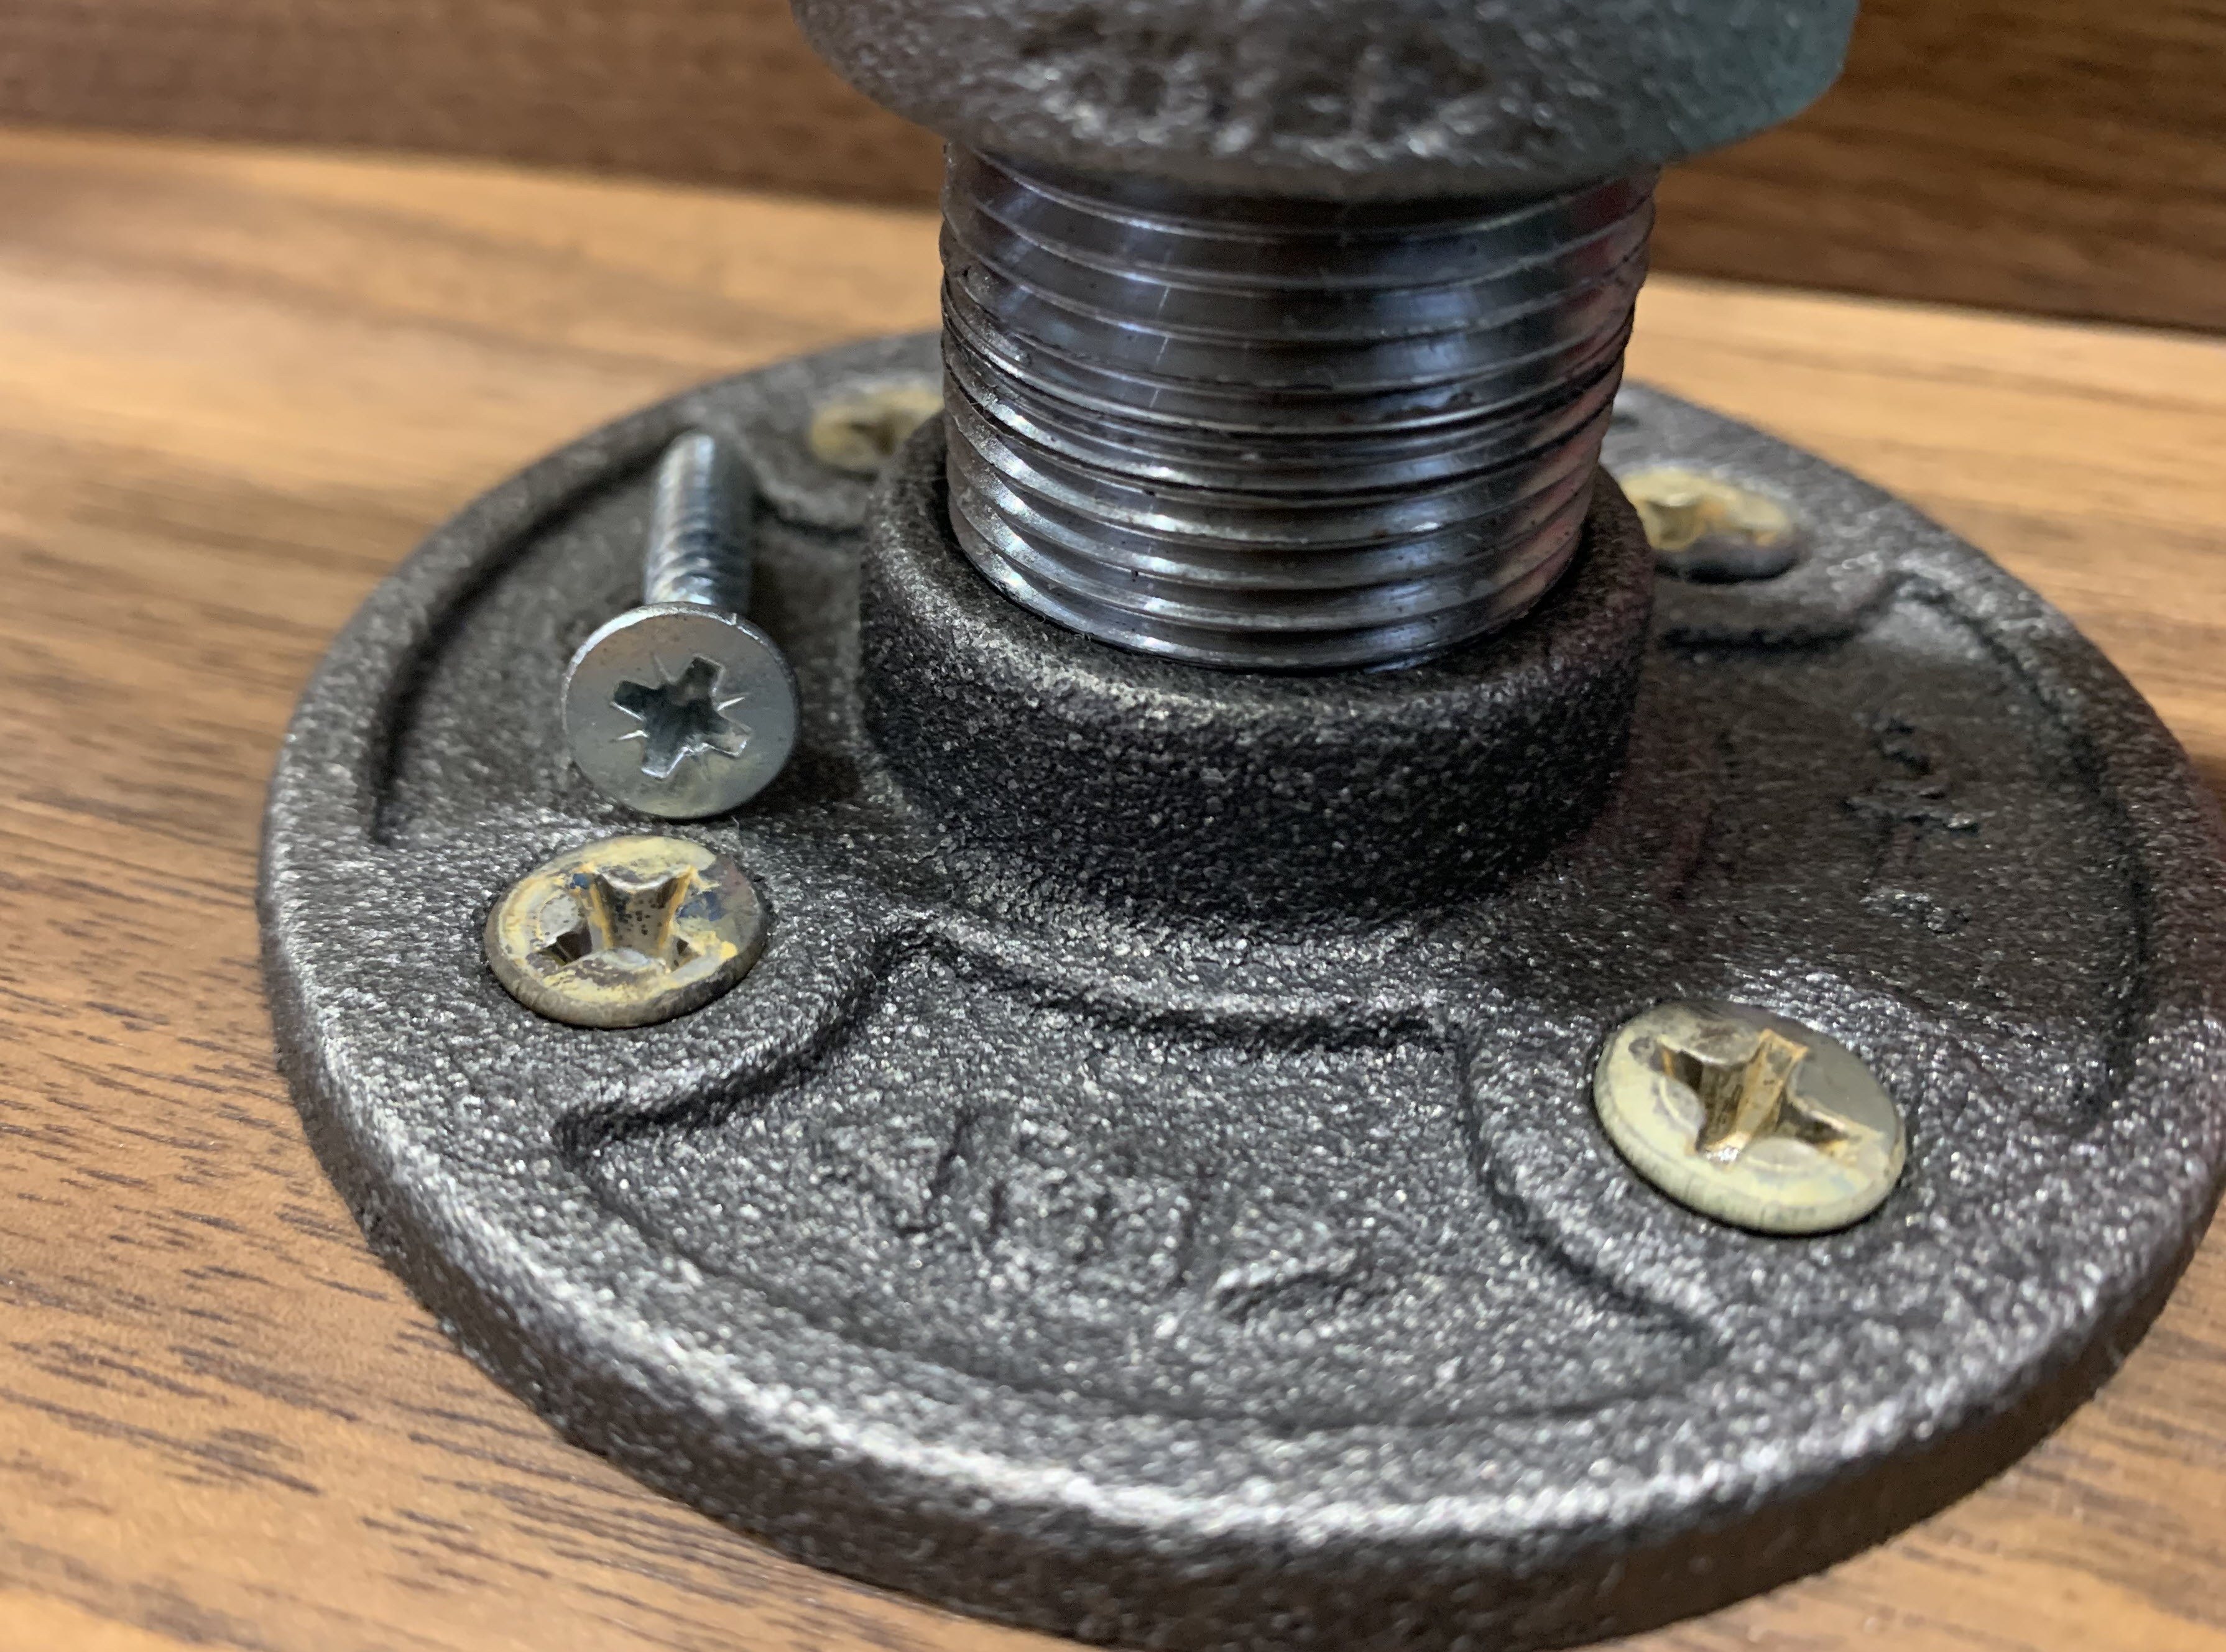
- The screws are standard zinc plated (comparison pic below). I heated them with a propane torch for 1 minute then quenched in water to get the weathered look. I would have preferred to use black screws but couldn’t find them anywhere.
Thanks for looking!