
Smart heating?
Note: This is a update/sub-post to a broader blog post on smart heating I published earlier in the year. In the event you may not have arrived here directly from that post, here is the original posting: http://mwunderling.com/blog/smartheating.html.
In November I picked up a few Shelly 1PM relay switches. They were on sale and I had been wanting to experient with a few different applications of their use. The smart plug + space heater solution I had been using to heat my office was fine, but I really wanted a more integrated solution (minus the bulky smart plug) with energy monitoring built-in. The Shelly 1PM installed internally to the wiring of the space heater could accomplish just that.
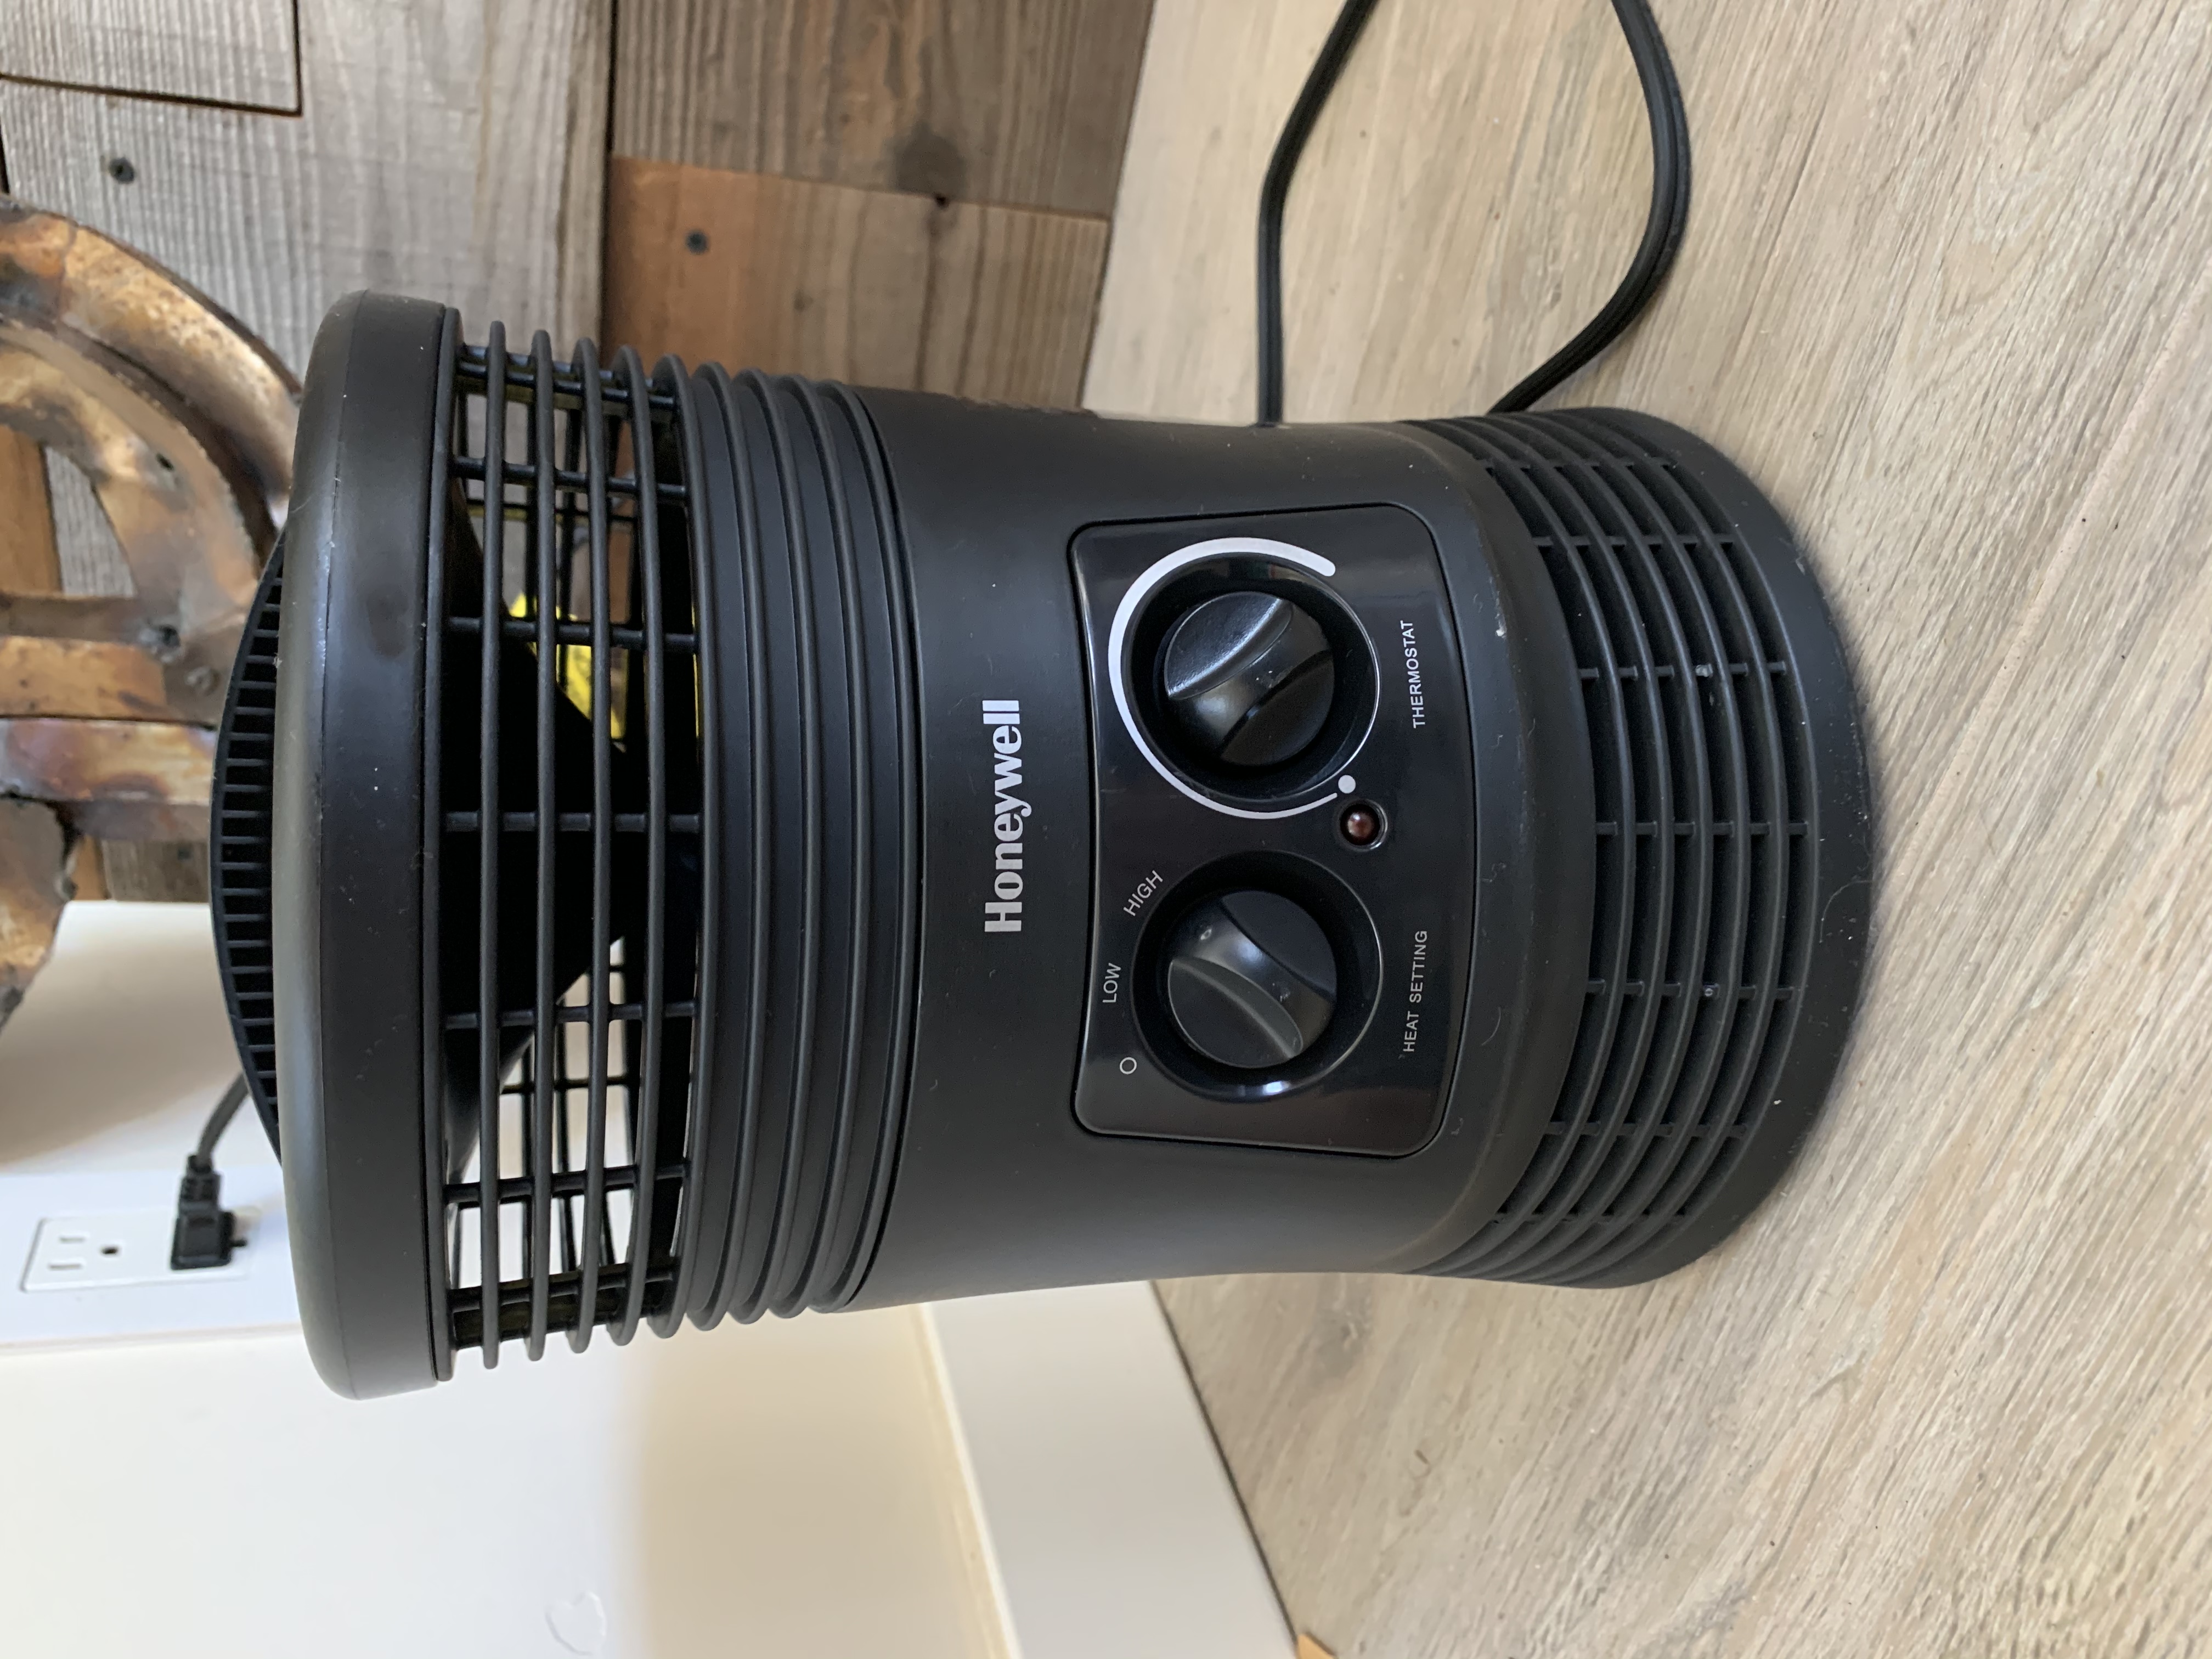
To start, I decided to update the space heater as well. The new one disperses heating 360 degrees and has an auto-shut off switch if gets tipped over. It was also the cheapest dumb heater I could find at Target.
Here it is after I installed the Shelly device (notice no more smart plug in the outlet).
Disclaimer & a word of caution: I am not an electrician. Before modifying the wiring of any electircal device be sure you are absolutely sure of your actions before proceeding. Trace all the wires for their electrical flow, and properly ID live wires vs neutral. Getting this wrong will result in burned wires and possibly fire.
To install the Shelly in the heater, I had to first remove the cover and identify the live and neutral wires in the main power cord. In the US at least, the neutral wire will be the one attached to the large prong on the plug.

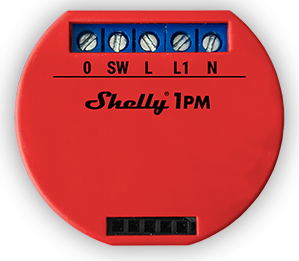
Trace the neutral side of the cord backup into the device. With the neutral wire identified, you can connect the Shelly to the main power cord. Step1: Install a black insulated wire in the Shelly's L1 port and a white insulated wire into the N port. Step2: Decide where to cut the main power cord and make the cut. Step3: Use wire nut to pigtail the black wire in the L1 port to the main cord's live wire. Step4: Pigtail the white neutral wire in the N port to Both ends of the cut main cord (3 wires total). ([larger](/images/smart_heating_202012/heating_wiring_setup.jpg))

Step5 (final): connect the cut live wire end attached to the internal wiring (and was attached to the main cord before being cut) to the O port on the Shelly. ([larger](/images/smart_heating_202012/heating_final_wire_connection.jpg)).

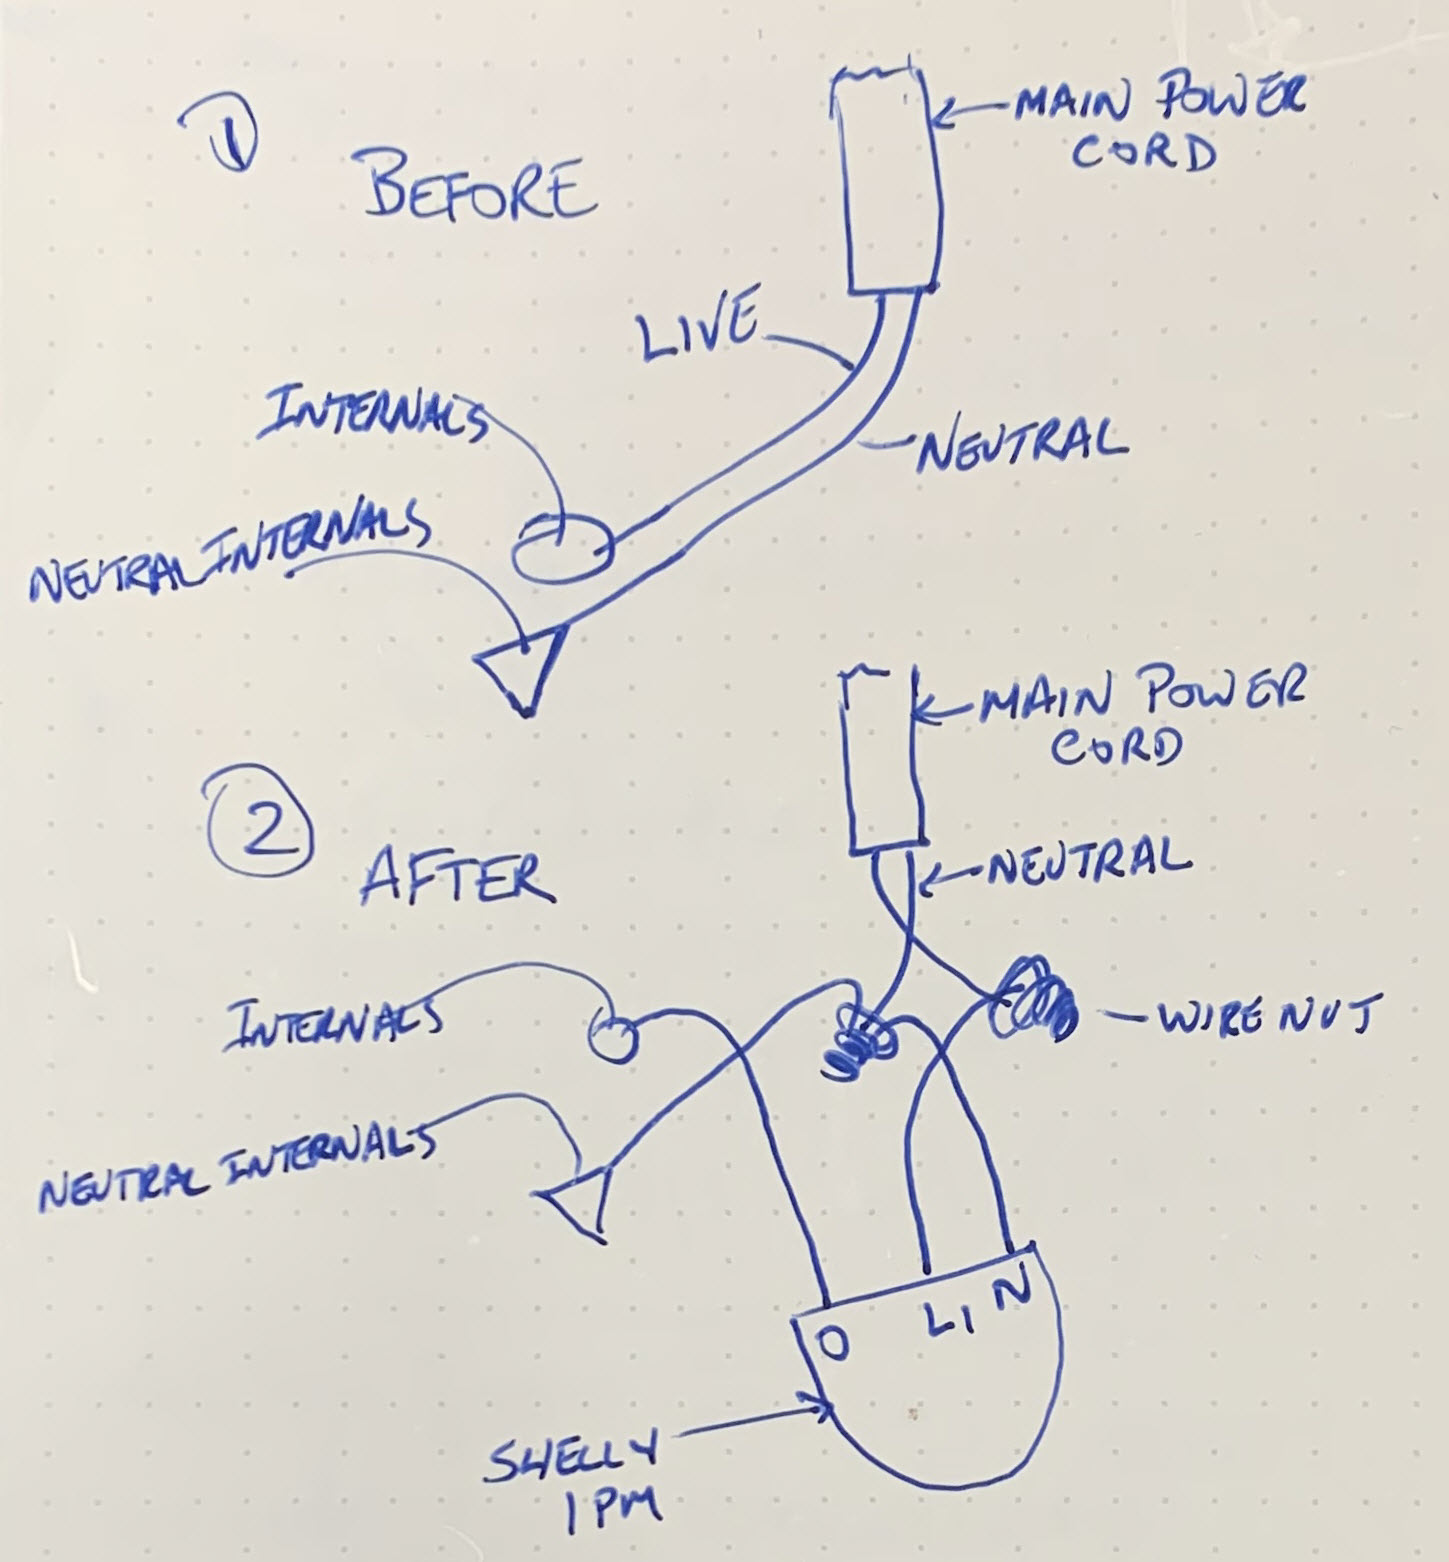
Diagram for more clarity ([larger](/images/smart_heating_202012/heating_diagram.jpg)).
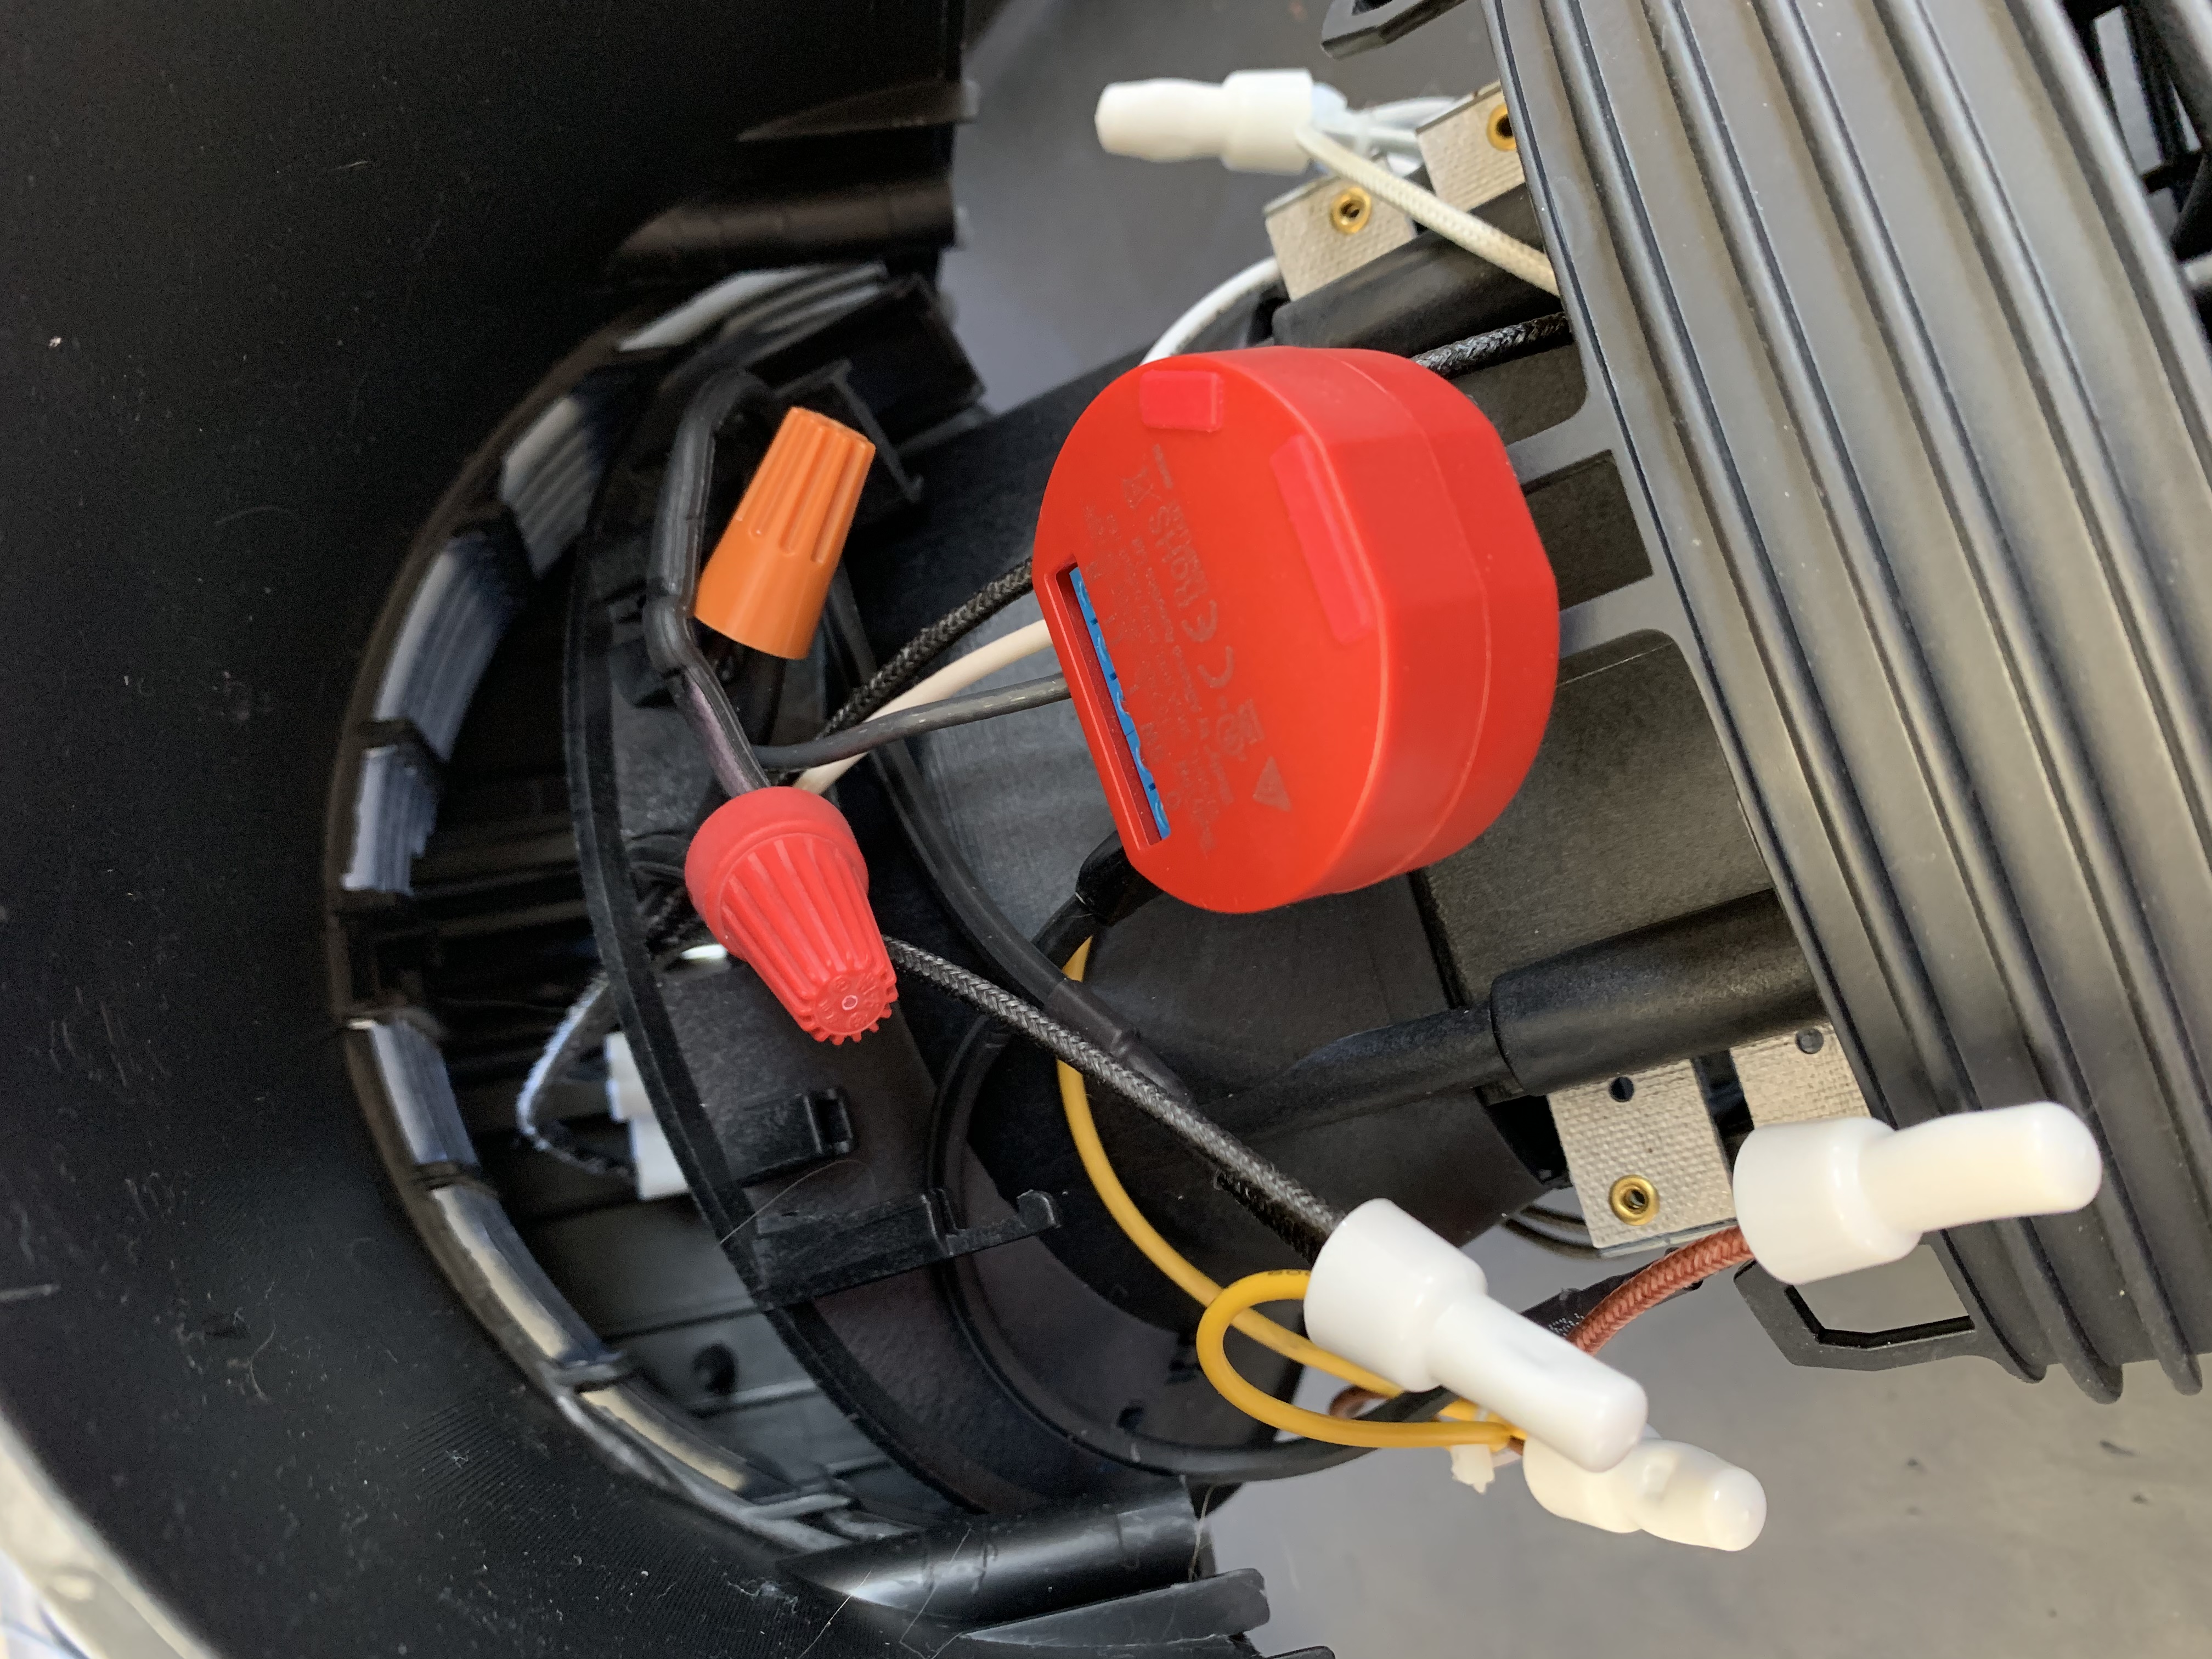
Final pic before putting the cover back on ([larger](/images/smart_heating_202012/heating_final.jpg)).
Click [here](https://mwunderling.com/resources/home_automation/shelly/) to view Shelly 1PM wiring for a wall outlet and/or device setup info
